


Steam Deck: How To Run Game Boy Games
Unleash Retro Gaming on Your Steam Deck: A Guide to Playing Game Boy Games with EmuDeck
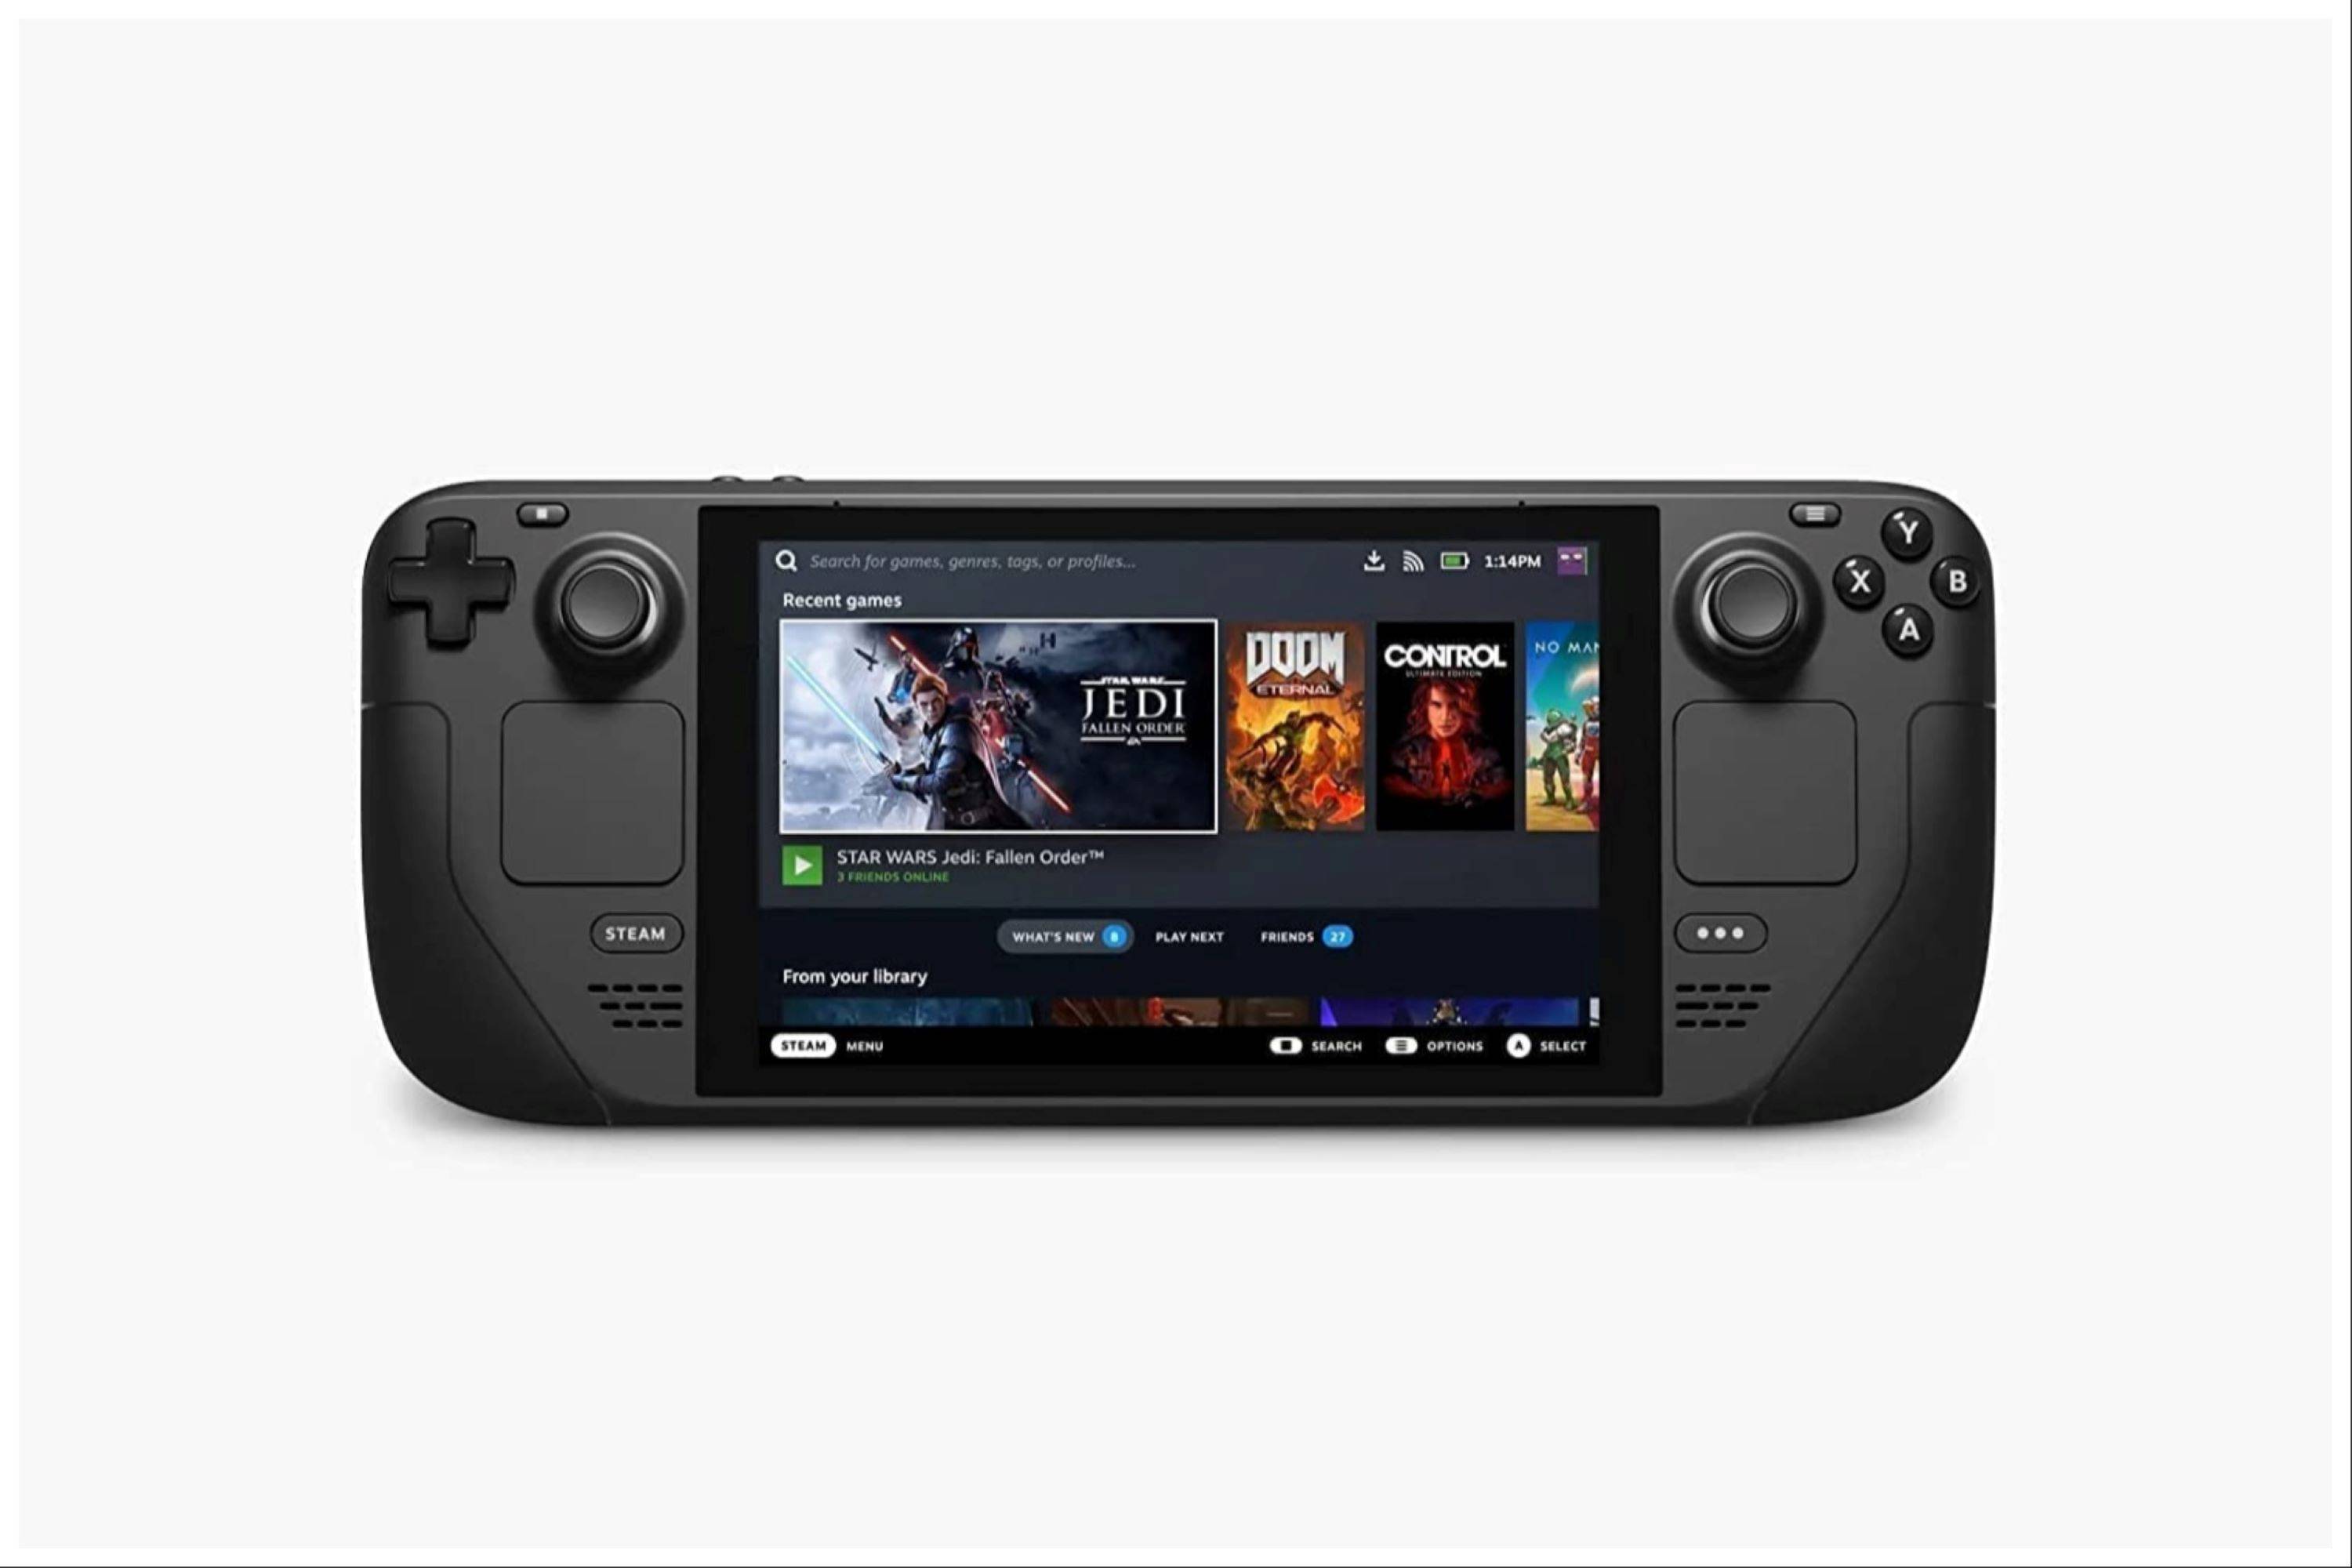
The Steam Deck's versatility extends beyond modern titles; its PC-like architecture makes it a powerhouse for retro gaming. This guide details how to install EmuDeck and enjoy your Game Boy collection on this handheld marvel. Even the limited color palette of original Game Boy games shines anew on the Steam Deck's larger screen.
Updated January 13, 2024: This guide now includes Decky Loader and Power Tools installation for optimal Game Boy emulation performance, and instructions for restoring Decky Loader after Steam Deck updates.
Before You Begin:
 Before installing EmuDeck, gather these essentials:
- A fully charged Steam Deck.
- An A2 microSD card for game and emulator storage.
- Legally obtained Game Boy ROMs.
- A Bluetooth or wired keyboard and mouse (recommended for easier navigation).
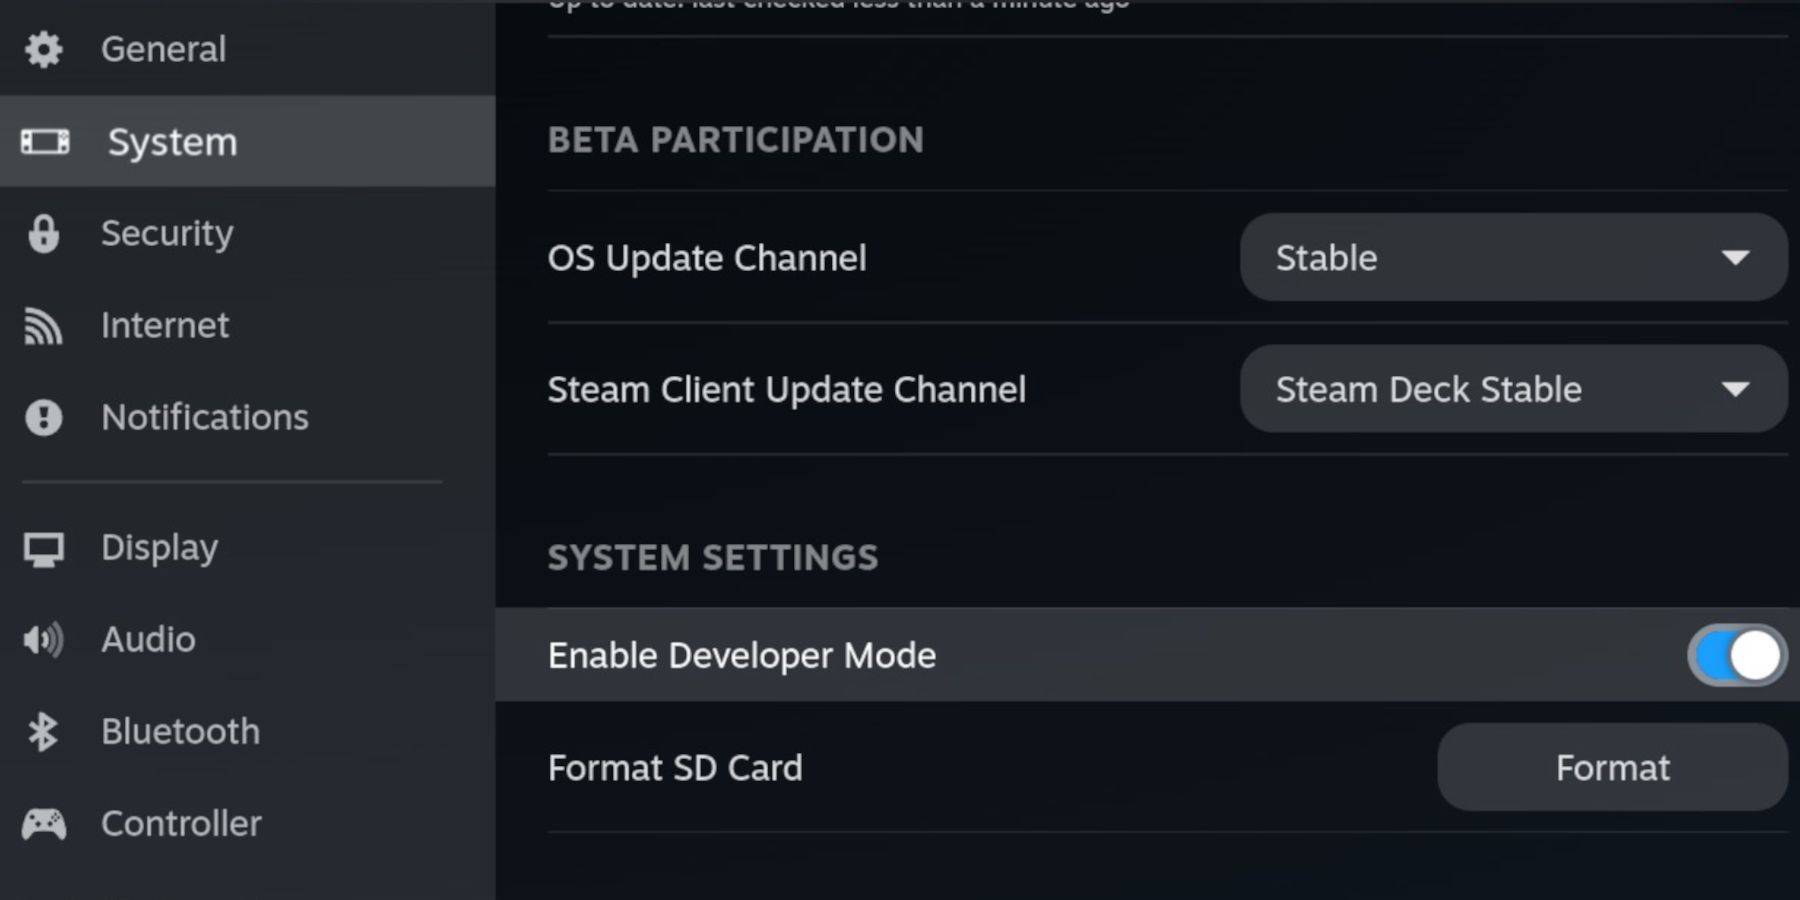
Enabling Developer Mode:
- Press the Steam button.
- Navigate to System > Developer Mode and enable it.
- Access the Developer menu and enable CEF Debugging.
- Select Power > Switch to Desktop Mode.
Installing EmuDeck (Desktop Mode):
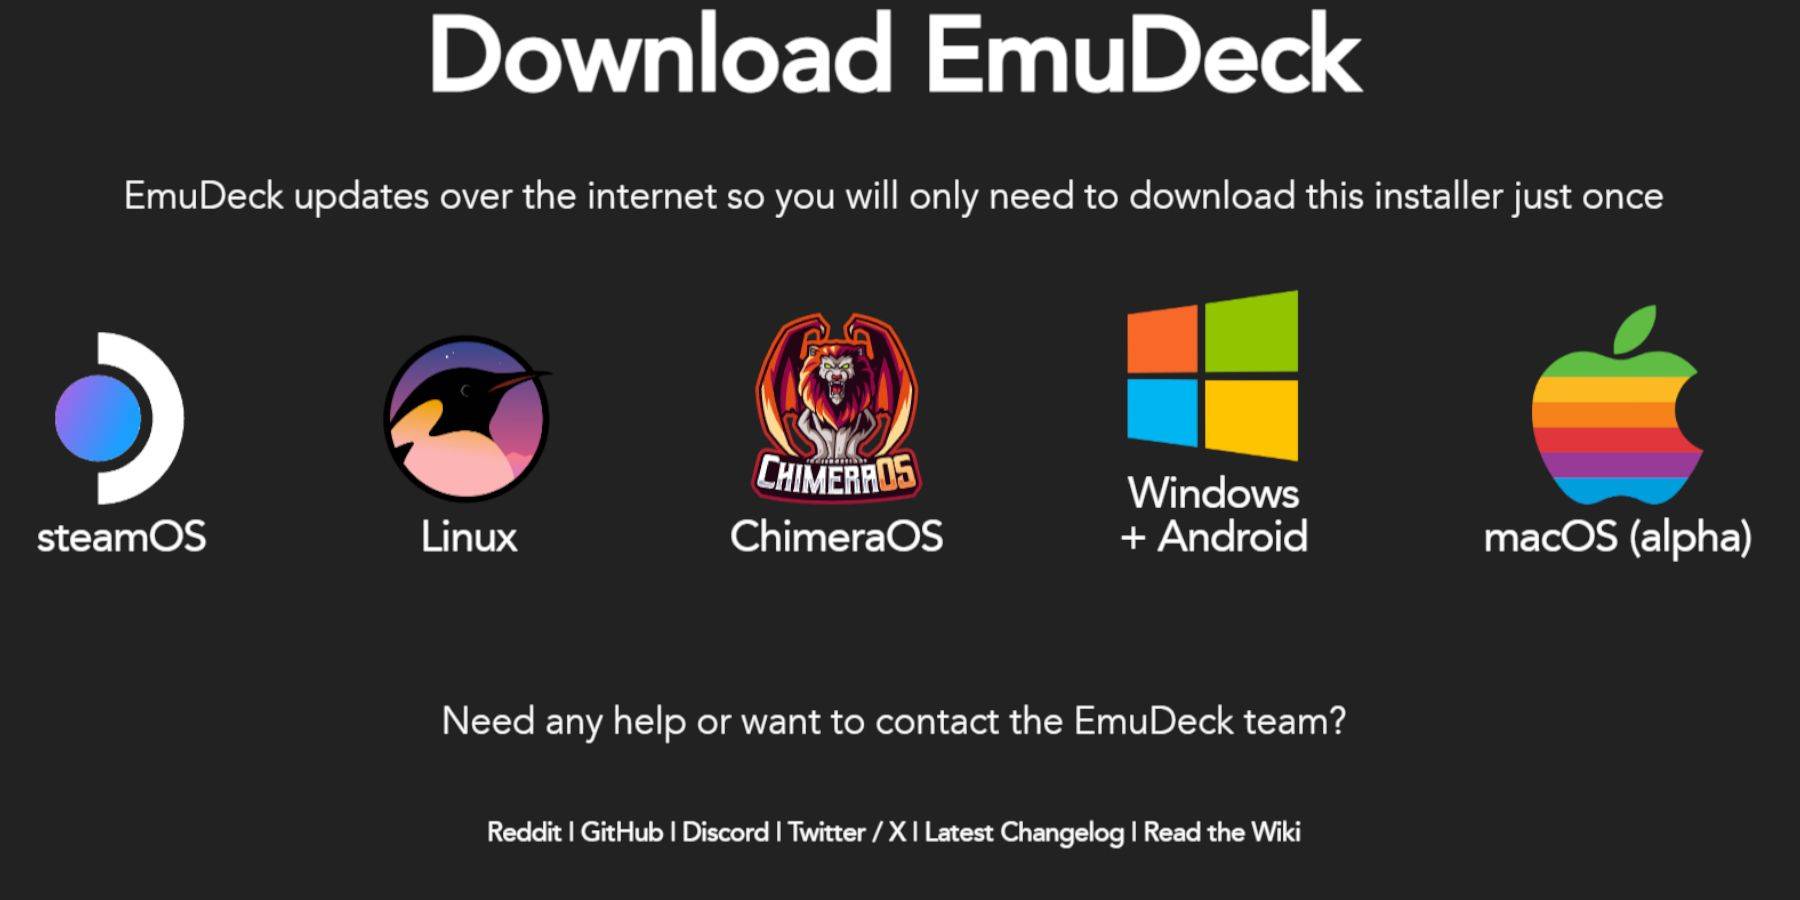
- Connect your keyboard and mouse.
- In Desktop Mode, download EmuDeck using a browser (e.g., DuckDuckGo, Firefox).
- Choose Steam OS and download.
- Select Recommended Settings then Custom Install.
- Choose your SD card (usually labeled "Primary").
- Select desired emulators (RetroArch, Emulation Station, Steam ROM Manager are recommended).
- Enable Auto Save.
- Complete the installation.
EmuDeck Quick Settings:
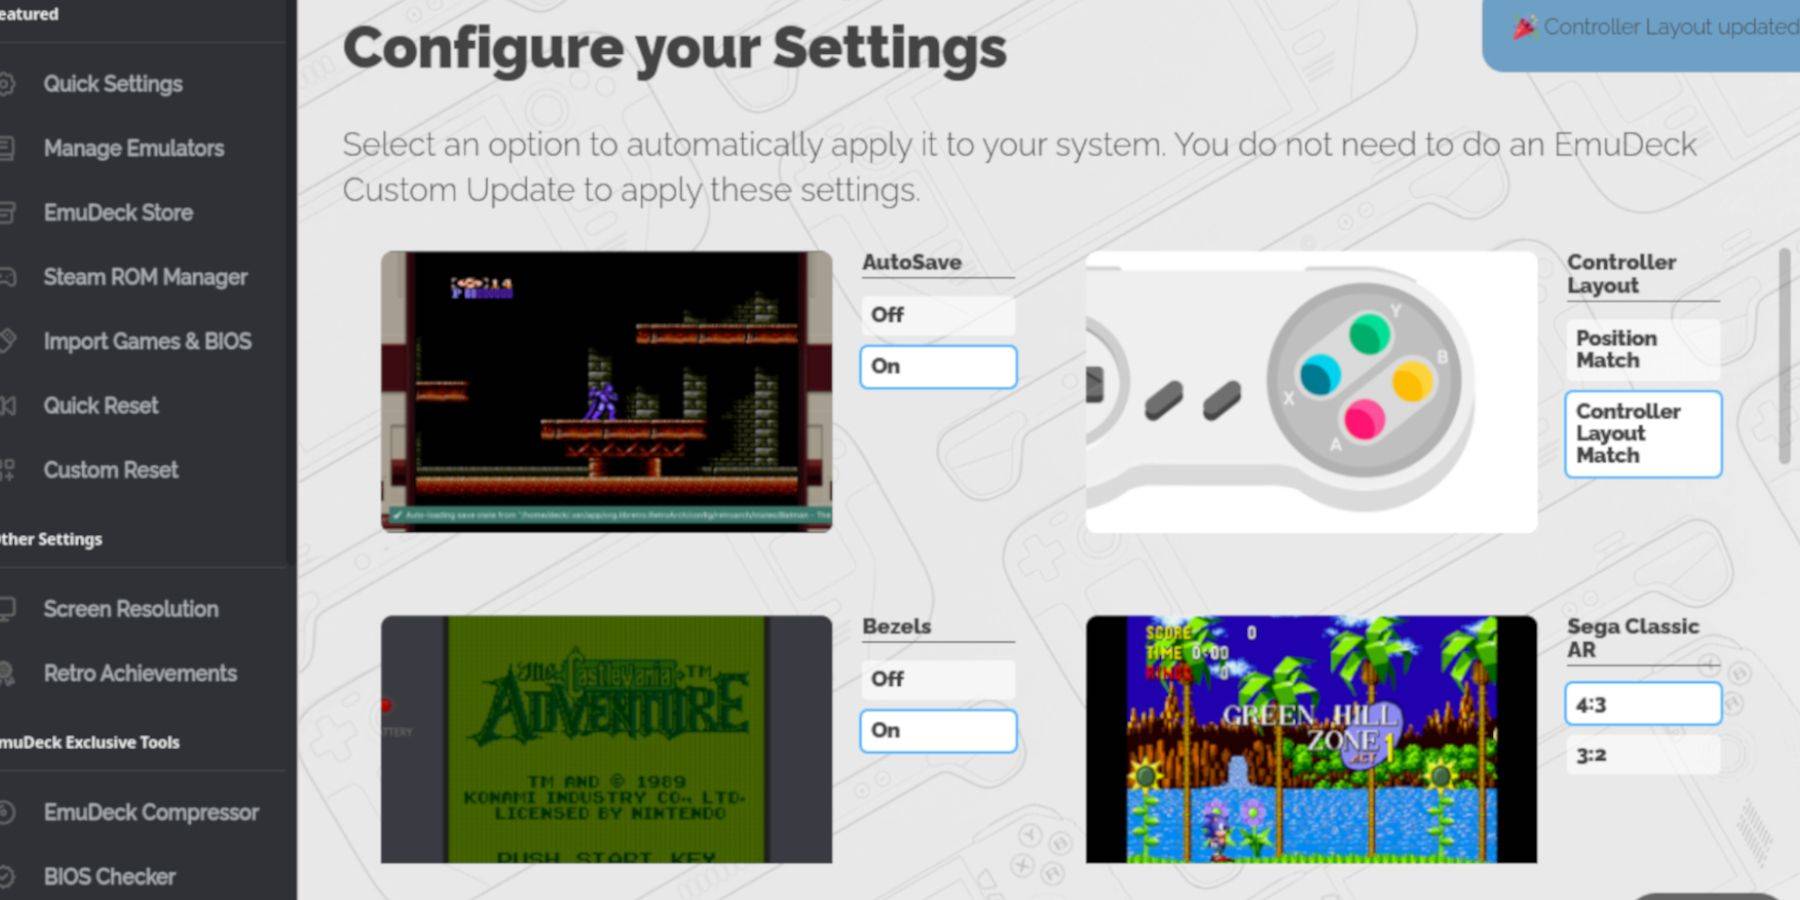
- Open EmuDeck and select Quick Settings.
- Enable AutoSave, Controller Layout Match, Bezels, Nintendo Classic AR, and LCD Handhelds.
Adding Your Game Boy Games:
- Use Dolphin File Manager to access your SD card ("Primary").
- Navigate to
Emulation/ROMS/gb. - Transfer your Game Boy ROMs (.gb files) to this folder. Ensure correct filenames.
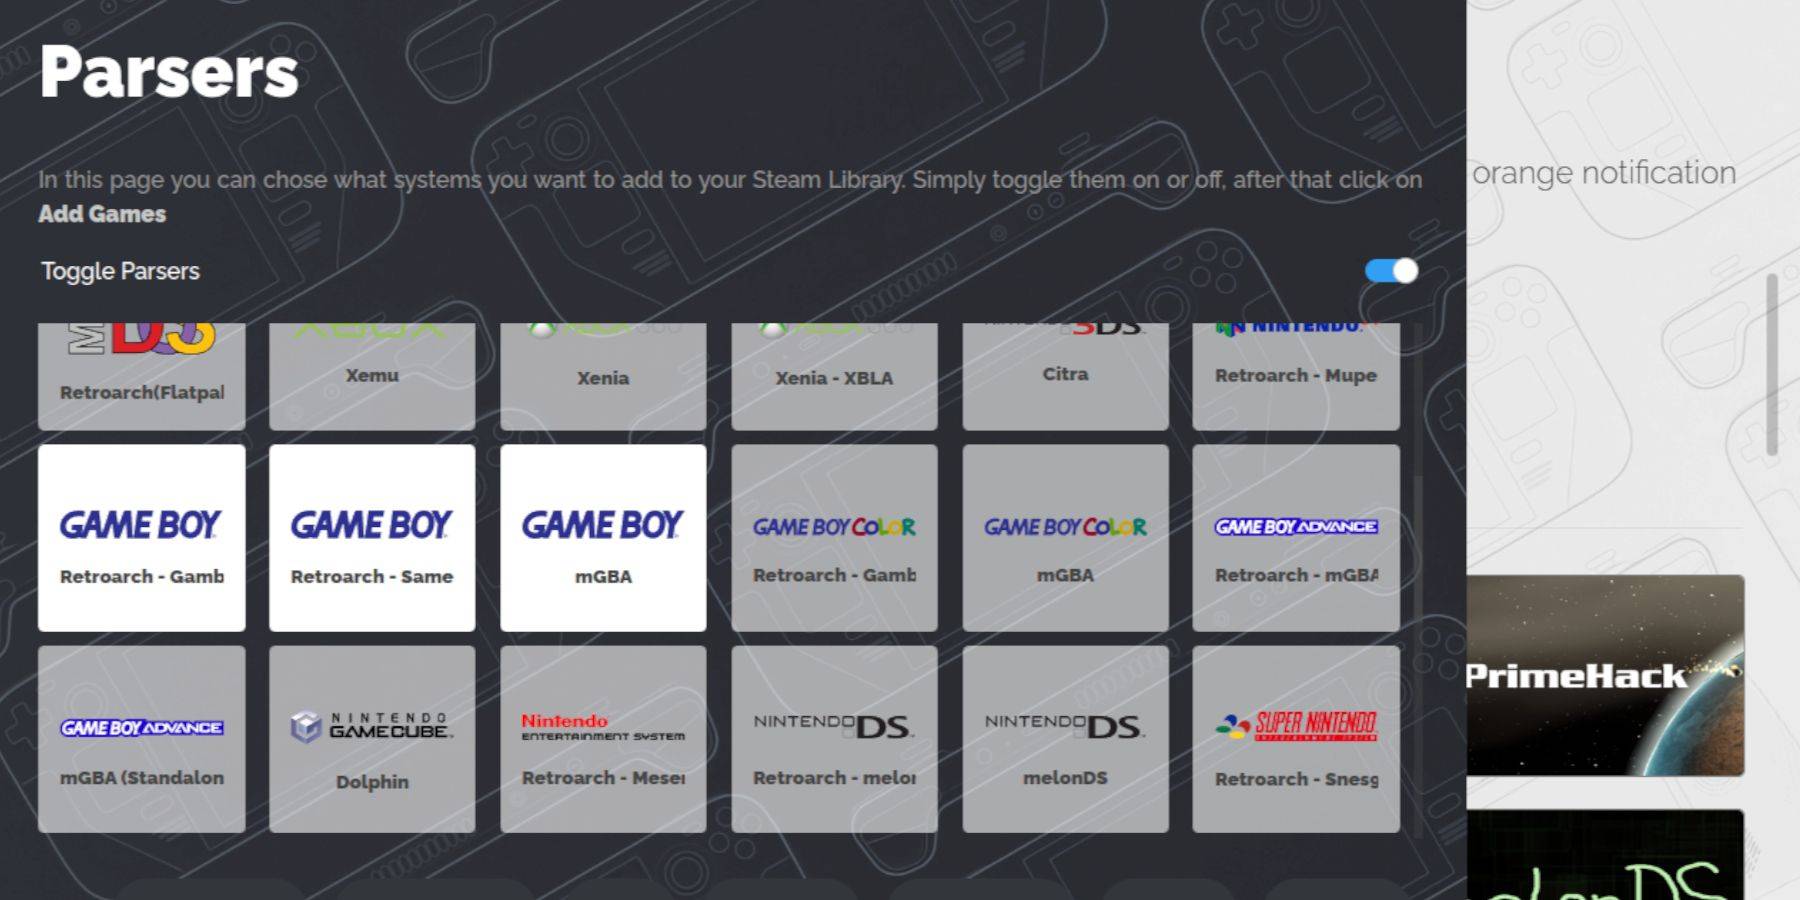
Integrating with Steam ROM Manager:
- Open EmuDeck and select Steam ROM Manager.
- Close the Steam client if prompted.
- Disable "Toggle Parsers."
- Select the three Game Boy tabs and "Add Games."
- After adding games, select "Save to Steam."
- Wait for the completion message and close Steam ROM Manager.
- Return to Gaming Mode.
Playing Your Games:
- Press the Steam button.
- Open your Library > Collections.
- Select your Game Boy collection and launch a game.
Customizing Game Colors (RetroArch):
Many Game Boy games support colorization within RetroArch.
- Launch a game.
- Open the RetroArch menu (usually Select + Y).
- Navigate to Core Options > GB Colorization.
- Choose "Auto" for automatic colorization or "Off" for original monochrome.
Using Emulation Station:
- Press the Steam button.
- Open Library > Collections > Emulators > Emulation Station.
- Select the Game Boy icon and launch your games. The RetroArch menu (Select + Y) remains accessible.
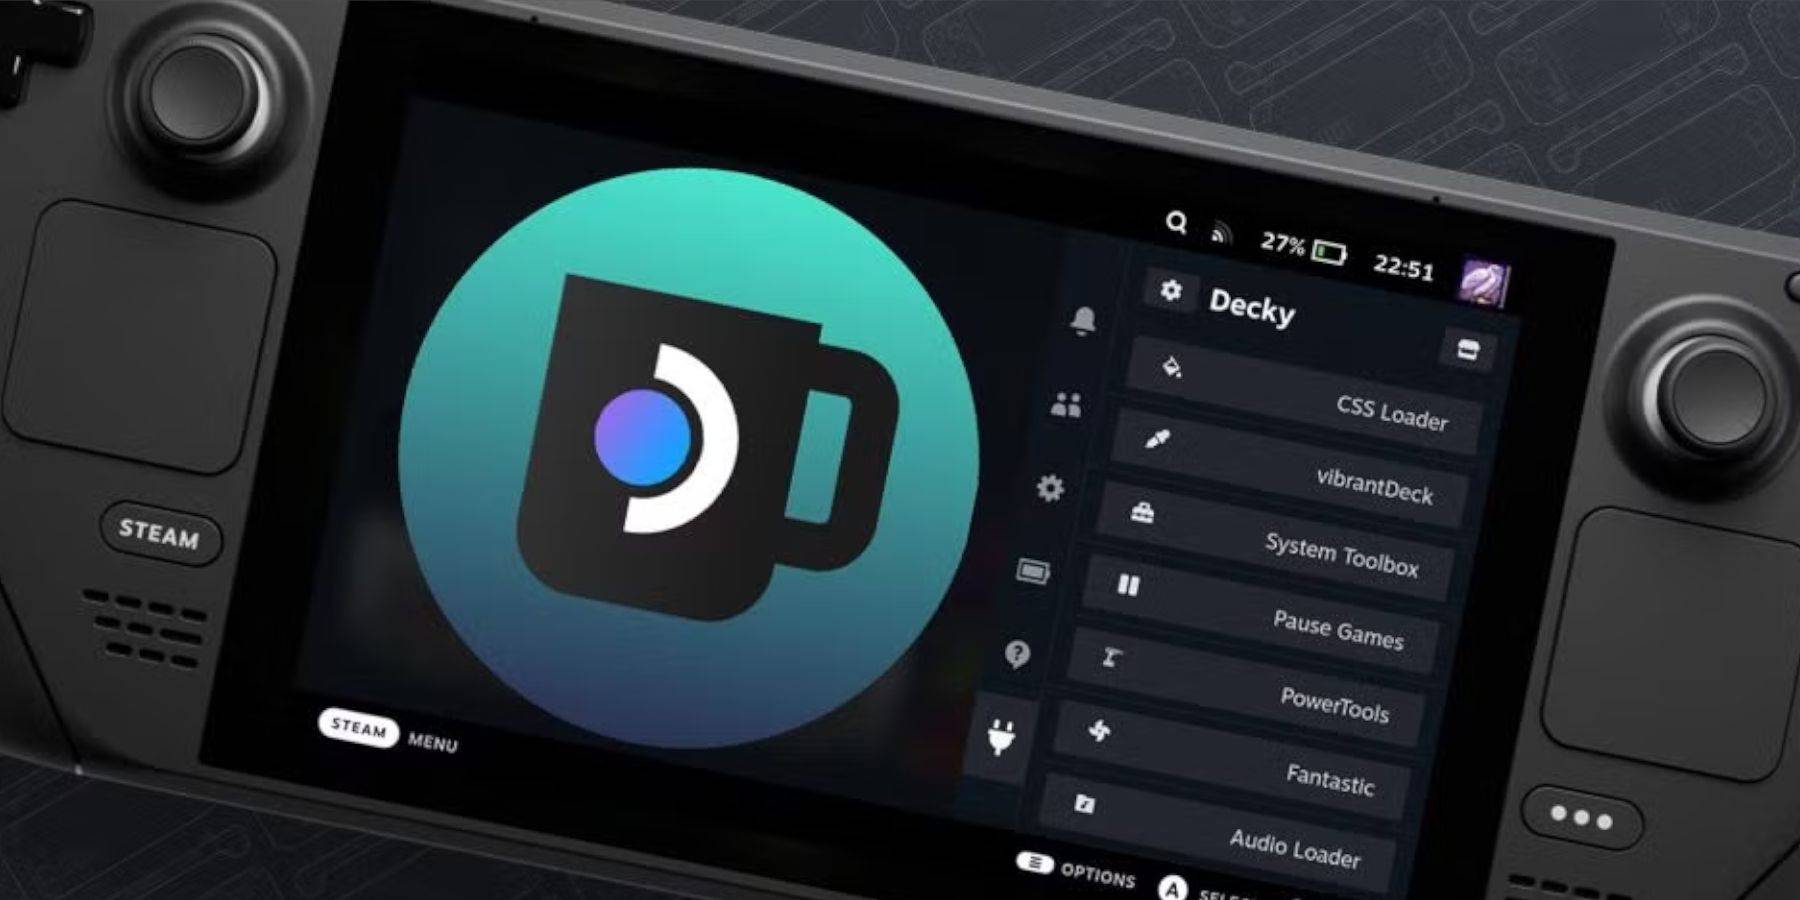
Installing Decky Loader:
- Switch to Desktop Mode.
- Download Decky Loader from its GitHub page.
- Run the installer and choose Recommended Install.
- Restart in Gaming Mode.
Installing Power Tools:
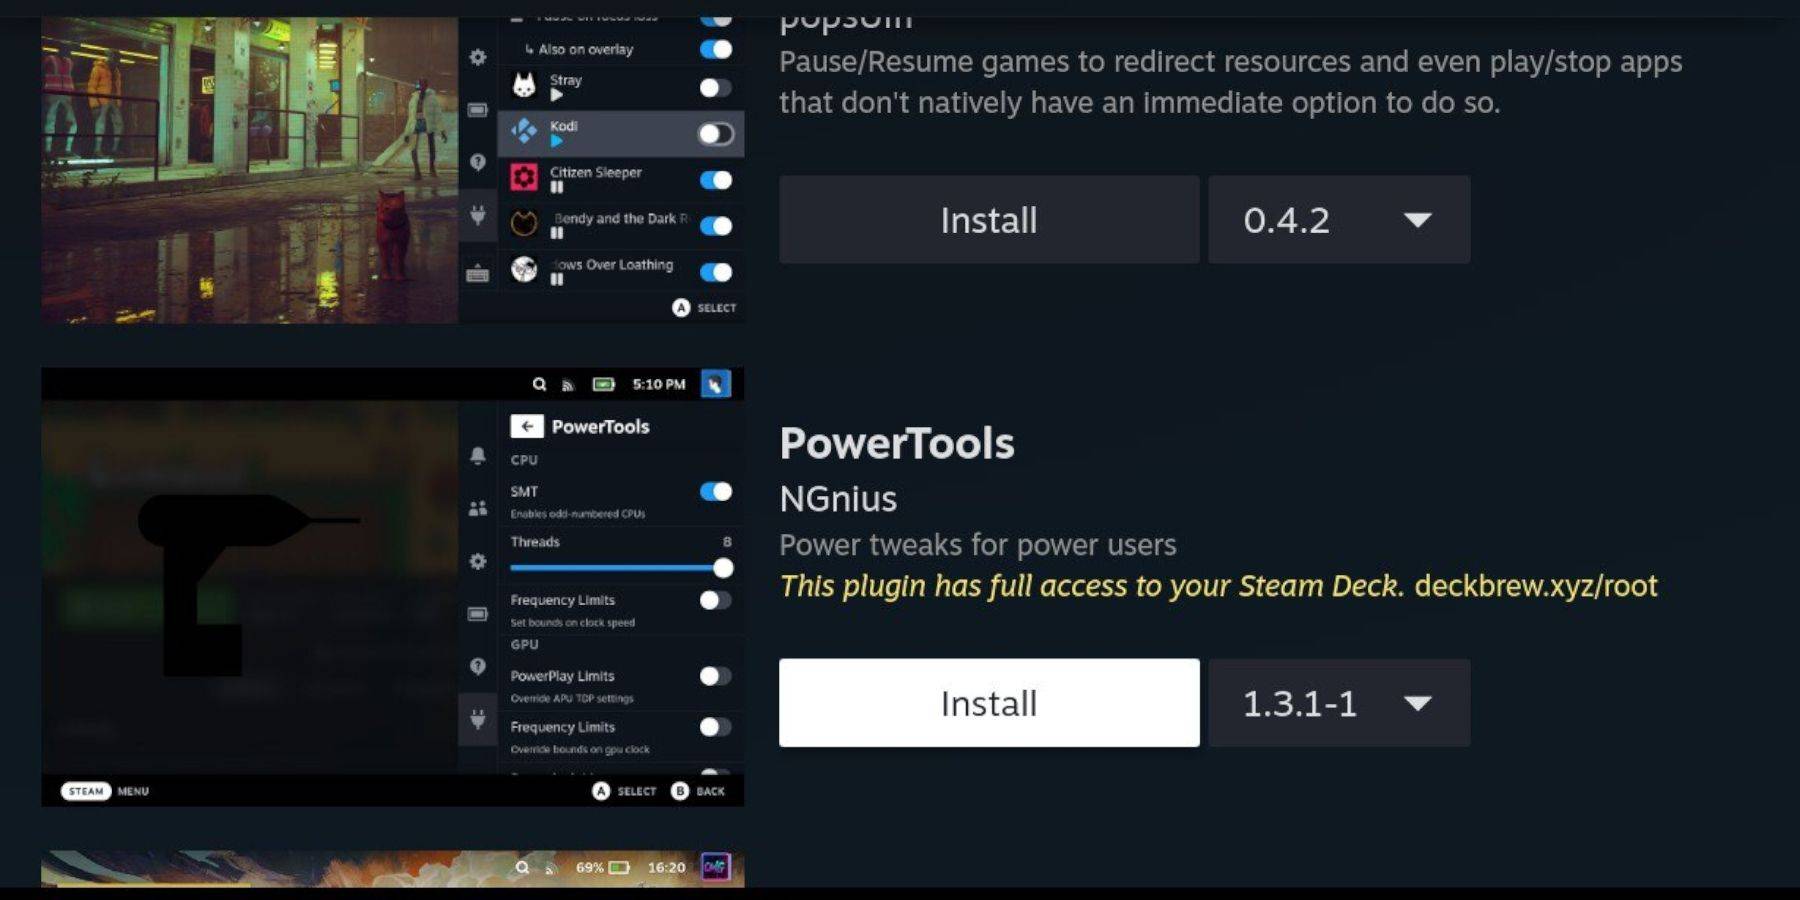
- Access the Decky Loader plugin store (usually a store icon in the QAM).
- Search for and install Power Tools.
Power Tools Settings:
- Launch a Game Boy game.
- Open Power Tools via the QAM.
- Disable SMTs, set Threads to 4.
- Access the Performance menu, enable Advanced View.
- Enable Manual GPU Clock Control, set GPU Clock Frequency to 1200.
- Use Per Game Profile to save settings.
Restoring Decky Loader After a Steam Deck Update:
- Switch to Desktop Mode.
- Re-download Decky Loader from its GitHub page.
- Run the installer. You may need to re-enter your pseudo password.
- Restart in Gaming Mode.
Enjoy your enhanced Game Boy experience on your Steam Deck!
-
 Dec 25,24Zenless Zone Zero 1.5 Update Preview Zenless Zone Zero Version 1.5 Update: Leaked Banner Characters Revealed New leaks for Zenless Zone Zero unveil the character lineup for the upcoming Version 1.5 update, including highly anticipated character reruns. This HoYoverse action RPG continues to expand its roster of powerful characters, fr
 -
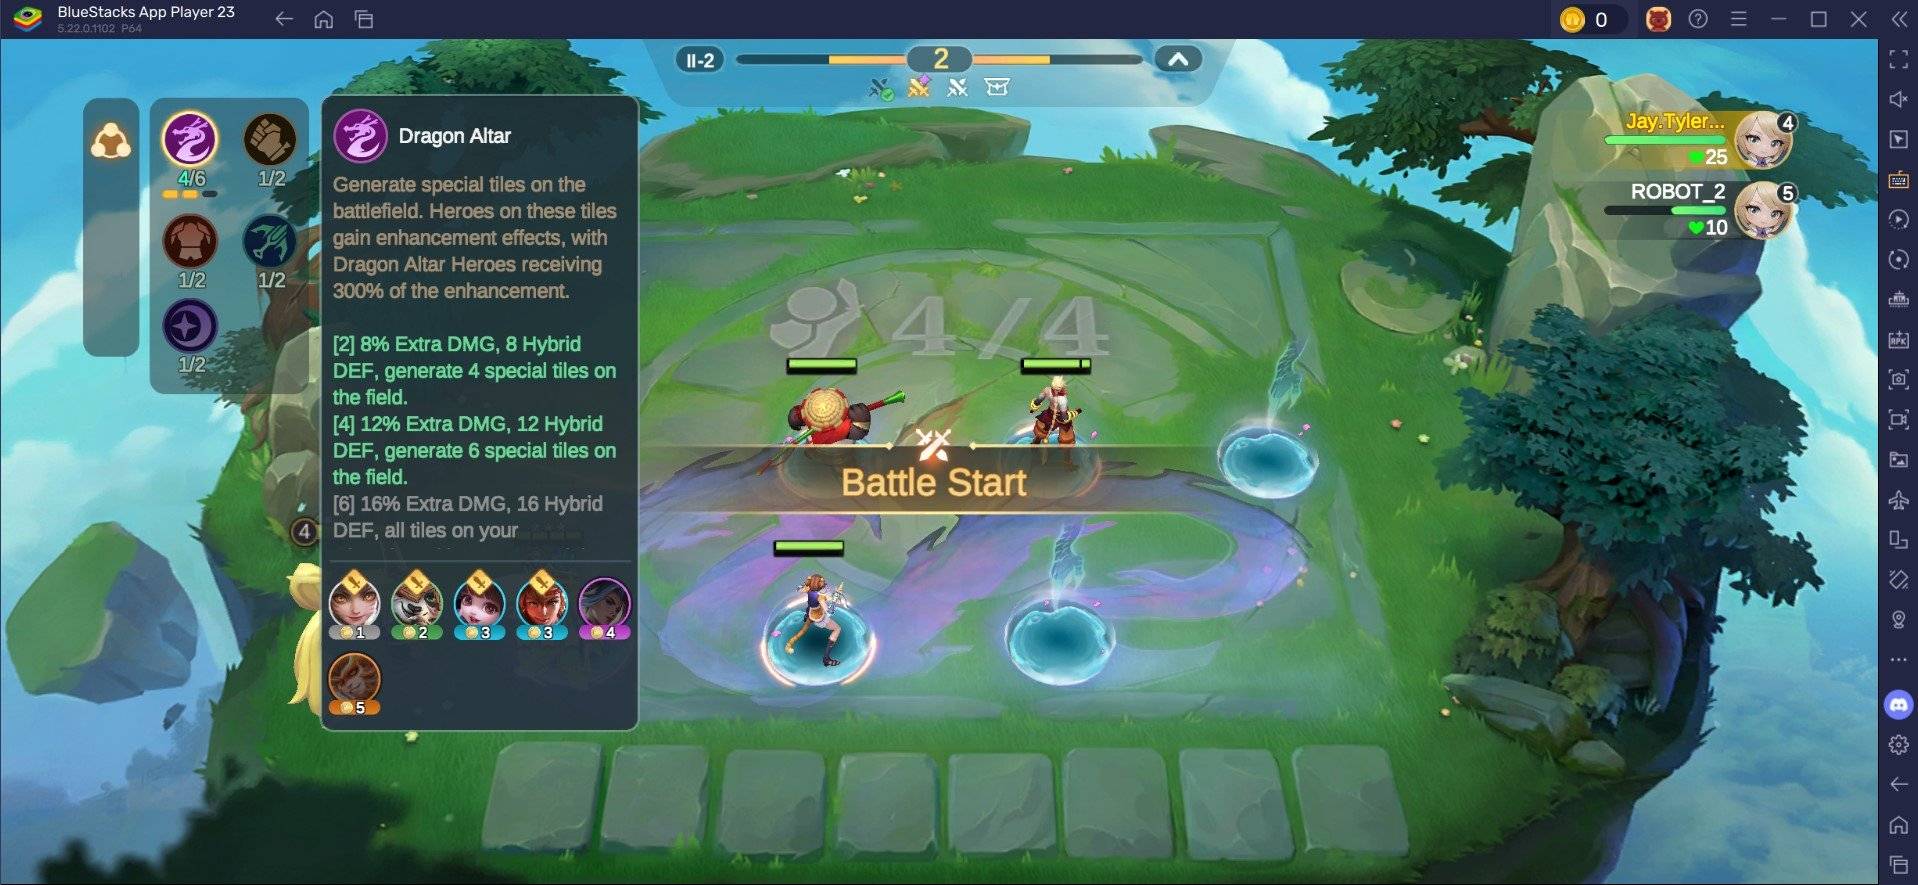 May 06,25Magic Chess: Beginner's Guide to Mastering Core Mechanics Magic Chess: Go Go, an exhilarating auto-battler strategy game crafted by Moonton, is deeply rooted in the vibrant universe of Mobile Legends. This game masterfully blends chess tactics with hero-based strategies, offering players the chance to craft formidable team line-ups featuring heroes from th
 -
 Apr 08,25Top Free Fire Characters 2025: Ultimate Guide Free Fire, crafted by Garena, has cemented its status as a top-tier battle royale game worldwide, amassing over 1 billion downloads on the Google Play Store and engaging millions of daily active players. Its appeal lies not only in its thrilling gameplay but also in its diverse array of characters,
 -
 Jan 18,25Roblox Grace: All Commands and How to Use Them Grace 游戏指令速查 所有 Grace 指令 如何使用 Grace 指令 Grace 是一款 Roblox 游戏,玩家需要在充满恐怖生物的各个关卡中生存。游戏极具挑战性,需要玩家快速反应并寻找对抗敌人的方法。幸运的是,开发人员添加了测试服务器功能,玩家可以使用聊天指令来简化游戏,召唤敌人,或进行游戏测试。以下列出了 Grace 游戏中的所有指令以及使用方法。 所有 Grace 指令 .revive:复活指令,用于在失败或卡住时重新进入游戏。 .panicspeed:修改计时器速度。 .dozer:召唤 Dozer 实体。 .main:进入主分支服务器。 .slugfish:召唤 S