


Ready or Not: How To Wipe Mods Without Losing All Progress
Ready or Not: A Comprehensive Guide to Mod Removal
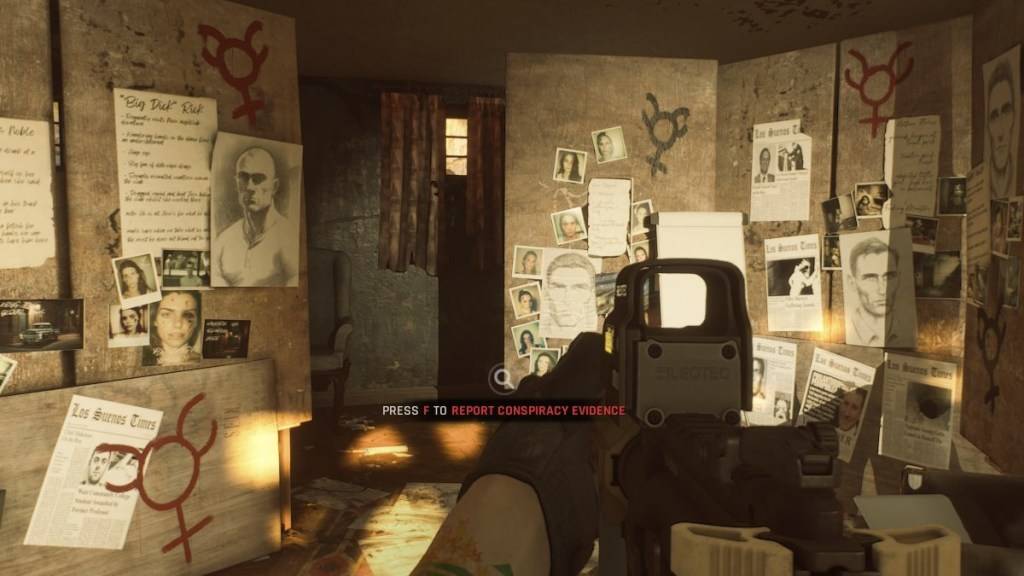
Ready or Not offers a rich modding experience, but mods can sometimes lead to instability or prevent multiplayer with unmodded friends. This guide details how to completely remove all mods from your game.
Removing Mods in Ready or Not
Regardless of your mod installation method (Nexus Mod Manager, mod.io, or manual), follow these steps to remove all mods:
-
Unsubscribe: Launch Ready or Not. In the in-game Mod Menu, unsubscribe from all active mods. This prevents re-downloads after deletion. Close the game.
-
Delete Game Mods: Open Steam, right-click Ready or Not in your Library, select Properties, then Installed Files, and Browse. Navigate to
Ready Or Not > Content > Paks. Delete all files and folders within thePaksfolder. Then, delete thePaksfolder itself. -
Delete Local AppData Mods: Press Windows+R, type
%localappdata%, and press Enter. Locate theReady Or Notfolder, then navigate toReady Or Not > Saved > Paks. Delete thePaksfolder within this location. -
Verify Game Files: Right-click Ready or Not in Steam, go to Properties > Installed Files > Verify Integrity of Game Files. This ensures no corrupted files remain.
-
Optional Reinstall: For a completely clean slate (recommended if you don't plan to use mods again), consider reinstalling Ready or Not.
Why Delete Mods?
While mods enhance Ready or Not, they can introduce errors, bugs, and glitches. A clean mod slate often resolves these issues. Furthermore, mods prevent multiplayer with friends who haven't installed the same mods. Deleting mods ensures compatibility and smoother gameplay with unmodded players.
Ready or Not is available now on PC.
-
 Dec 25,24Zenless Zone Zero 1.5 Update Preview Zenless Zone Zero Version 1.5 Update: Leaked Banner Characters Revealed New leaks for Zenless Zone Zero unveil the character lineup for the upcoming Version 1.5 update, including highly anticipated character reruns. This HoYoverse action RPG continues to expand its roster of powerful characters, fr
 -
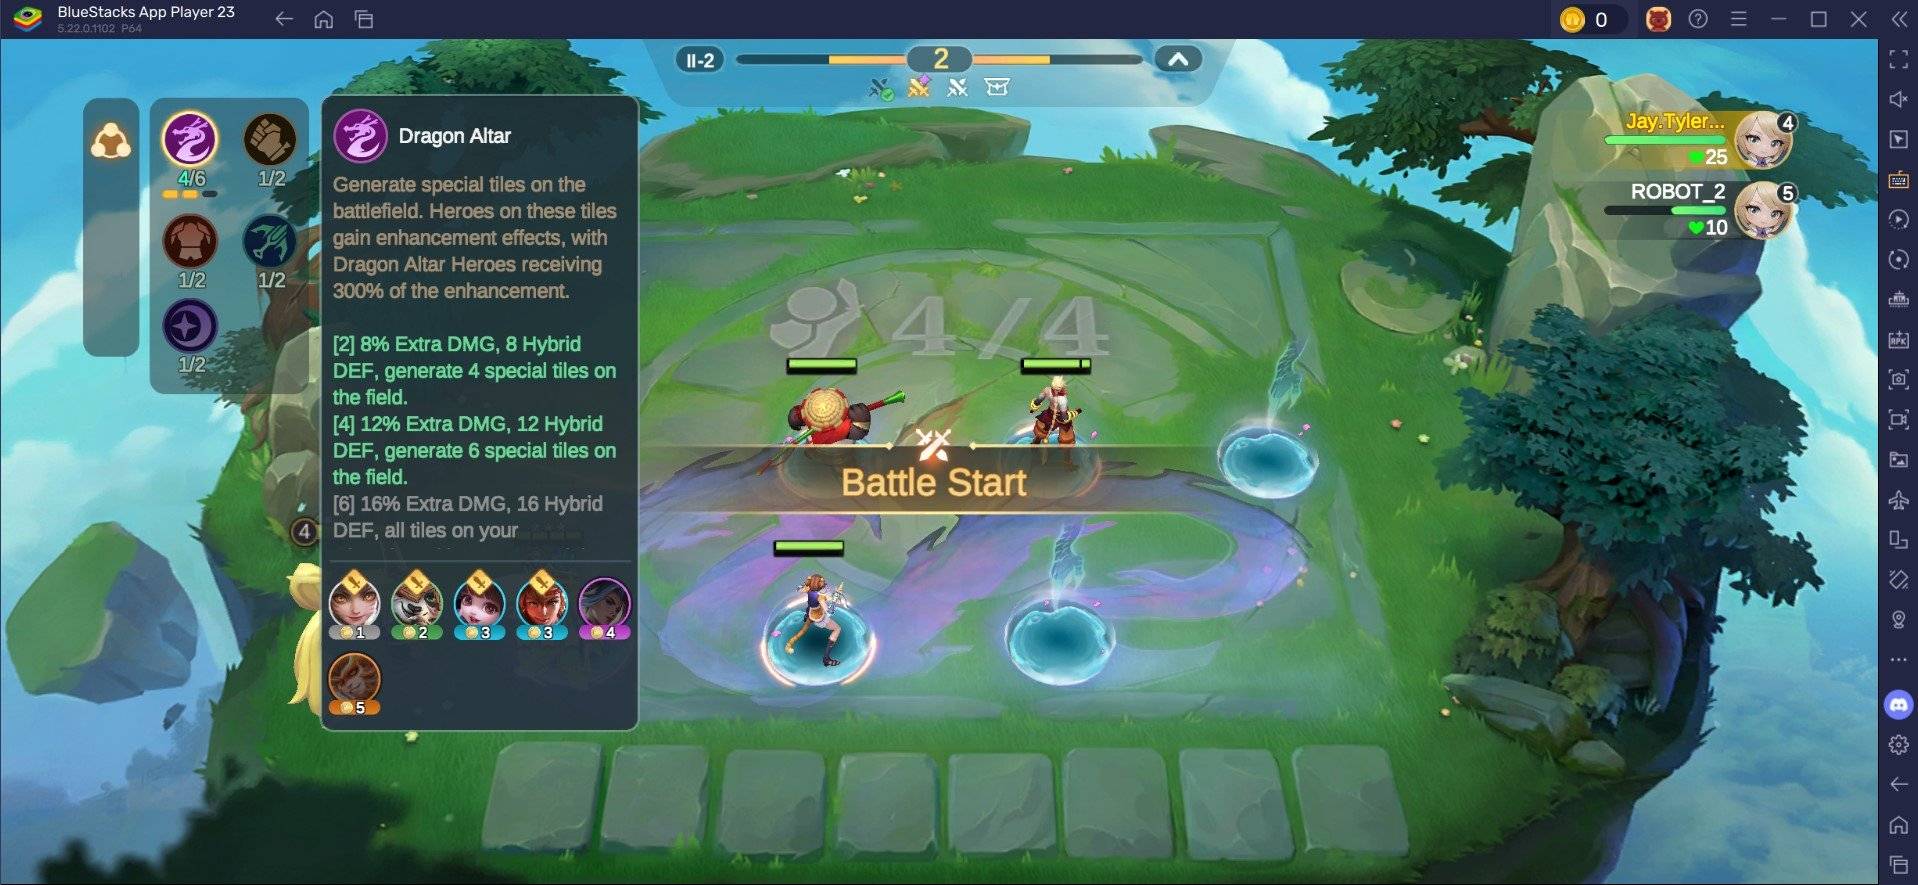 May 06,25Magic Chess: Beginner's Guide to Mastering Core Mechanics Magic Chess: Go Go, an exhilarating auto-battler strategy game crafted by Moonton, is deeply rooted in the vibrant universe of Mobile Legends. This game masterfully blends chess tactics with hero-based strategies, offering players the chance to craft formidable team line-ups featuring heroes from th
 -
 Apr 08,25Top Free Fire Characters 2025: Ultimate Guide Free Fire, crafted by Garena, has cemented its status as a top-tier battle royale game worldwide, amassing over 1 billion downloads on the Google Play Store and engaging millions of daily active players. Its appeal lies not only in its thrilling gameplay but also in its diverse array of characters,
 -
 Jan 18,25Roblox Grace: All Commands and How to Use Them Grace 游戏指令速查 所有 Grace 指令 如何使用 Grace 指令 Grace 是一款 Roblox 游戏,玩家需要在充满恐怖生物的各个关卡中生存。游戏极具挑战性,需要玩家快速反应并寻找对抗敌人的方法。幸运的是,开发人员添加了测试服务器功能,玩家可以使用聊天指令来简化游戏,召唤敌人,或进行游戏测试。以下列出了 Grace 游戏中的所有指令以及使用方法。 所有 Grace 指令 .revive:复活指令,用于在失败或卡住时重新进入游戏。 .panicspeed:修改计时器速度。 .dozer:召唤 Dozer 实体。 .main:进入主分支服务器。 .slugfish:召唤 S