


How to Connect Your PlayStation VR2 Headset to a PC: Step-by-Step Guide
For PlayStation VR2 owners eager to explore SteamVR's vast library on their gaming PCs, the path wasn't always clear. Previously limited to consoles, the release of Sony's $60 adapter last fall opened the door, allowing compatibility with most modern PCs—provided they meet the headset's minimum requirements. However, despite its plug-and-play marketing, the adapter requires more than a simple connection. Certain omissions necessitate additional setup steps depending on your PC configuration.
Connecting Your PS VR2 to Your PC with the Adapter
Before starting, ensure you have everything needed. The adapter enables full compatibility with most SteamVR games, but your PC needs Bluetooth 4.0, a DisplayPort 1.4 cable, a free AC power outlet, and the PlayStation VR2 and SteamVR apps installed on Steam. The included Sense controllers charge via USB-C, so two USB-C charging ports and cables are essential (or consider Sony's $50 charging station for convenience).
What You'll Need
Check your PC's compatibility on Sony's official PS VR2 PC Adapter preparation page. Assuming compatibility, gather these items:
- PlayStation VR2 headset
- PlayStation VR2 PC adapter (includes AC adapter and USB 3.0 Type-A cable)
- DisplayPort 1.4 cable (sold separately)
- Free USB 3.0 Type-A port on your PC (note: Sony advises against extension cables or external hubs, though a powered external hub may work)
- Bluetooth 4.0 capability (built-in or via an external adapter)
- Steam and SteamVR installed on your PC
- PlayStation VR2 app installed on Steam
Step-by-Step Connection Instructions
With everything ready, follow these steps:
Install SteamVR and the PlayStation VR2 app: Download and install the Steam Windows client, then install the SteamVR app and the PlayStation VR2 app.
Set up Bluetooth and pair Sense Controllers: Enable Bluetooth in your PC's settings (Settings > Bluetooth & devices > toggle Bluetooth "On"). Pair your controllers by holding the PlayStation and Create buttons on each until the light blinks. Add them via your PC's "Add device" option. If using an external Bluetooth adapter alongside an internal one, disable the internal Bluetooth driver in Device Manager.
Set up the adapter: Connect the PS VR2 adapter to a USB 3.0 port, connect it to your GPU using a DisplayPort 1.4 cable, and connect the AC adapter to the power outlet. The adapter's indicator will turn solid red when powered on. Connect the PS VR2 headset to the adapter.
Disable Hardware-accelerated GPU scheduling (optional): For newer GPUs (like Nvidia RTX 40-series), disabling this in Graphics settings may improve stability. Restart your PC afterward.
Launch the PlayStation VR2 App and SteamVR: Power on the headset, launch SteamVR, set it as your default OpenXR runtime, and open the PlayStation VR2 app. Follow on-screen instructions to set up your Play Area, IPD, and display distance.
Connecting Without the Adapter?
Currently, direct connection without the adapter is unreliable. While some 2018 GPUs with USB-C and VirtualLink have reportedly allowed direct connection (with the PlayStation VR2 app installed), this is not officially supported. See Road to VR for more information.
-
 Dec 25,24Zenless Zone Zero 1.5 Update Preview Zenless Zone Zero Version 1.5 Update: Leaked Banner Characters Revealed New leaks for Zenless Zone Zero unveil the character lineup for the upcoming Version 1.5 update, including highly anticipated character reruns. This HoYoverse action RPG continues to expand its roster of powerful characters, fr
 -
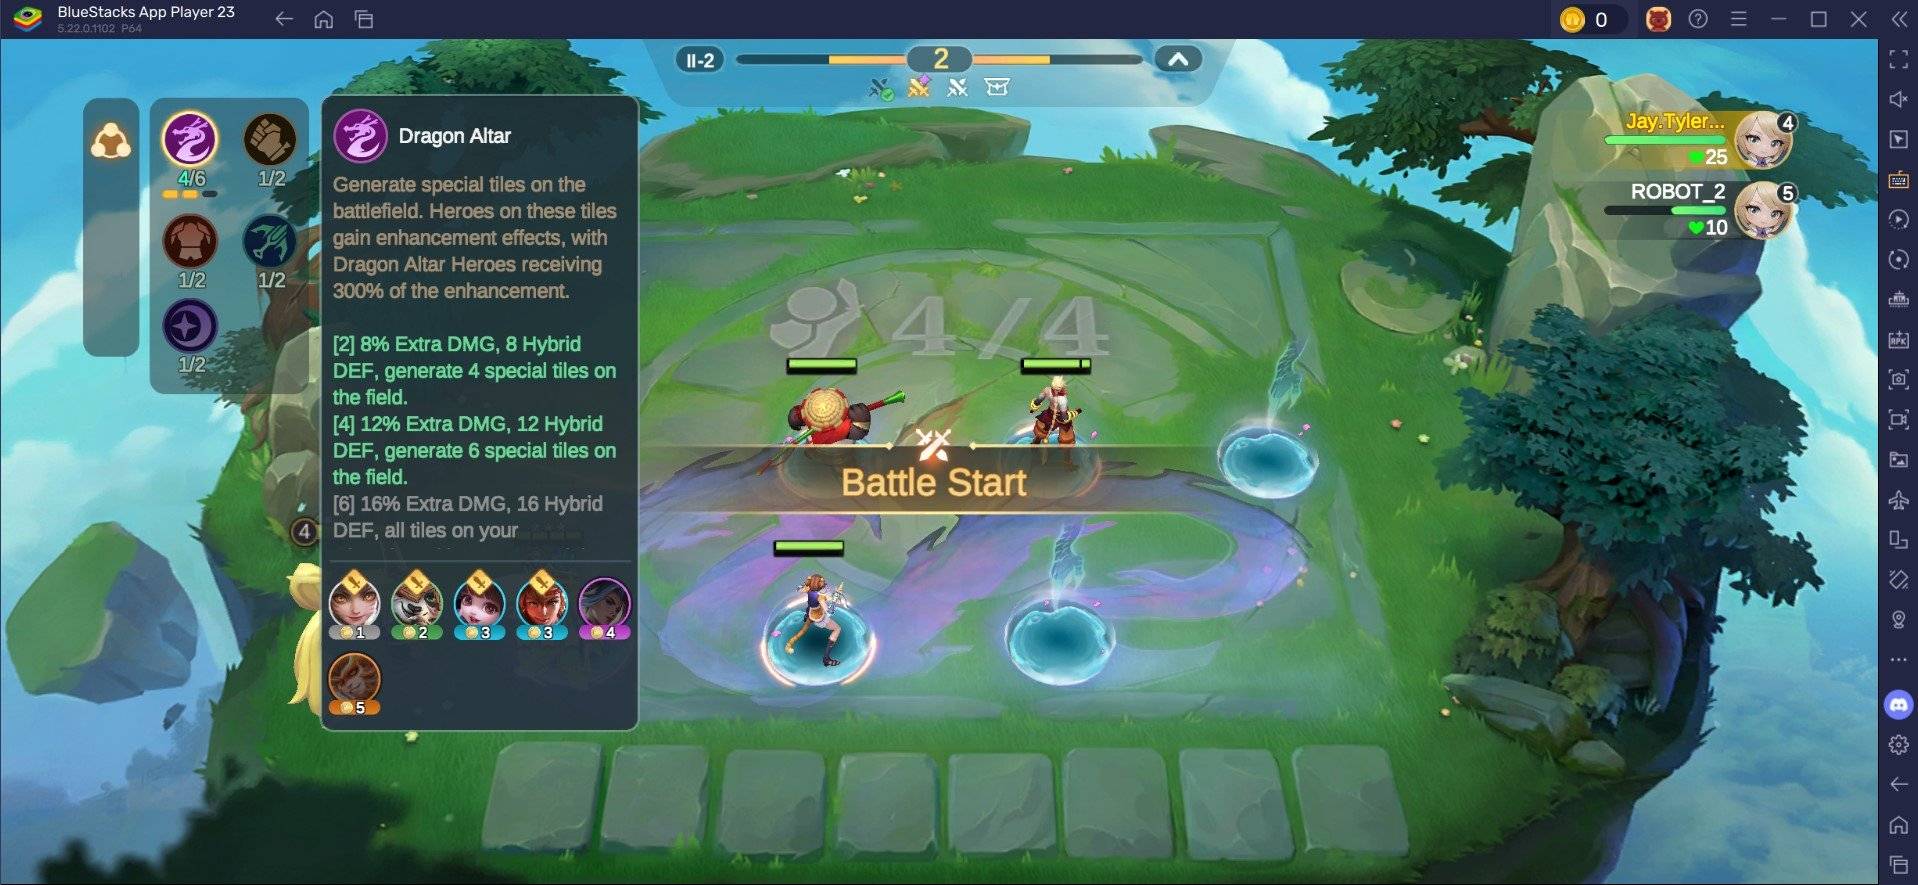 May 06,25Magic Chess: Beginner's Guide to Mastering Core Mechanics Magic Chess: Go Go, an exhilarating auto-battler strategy game crafted by Moonton, is deeply rooted in the vibrant universe of Mobile Legends. This game masterfully blends chess tactics with hero-based strategies, offering players the chance to craft formidable team line-ups featuring heroes from th
 -
 Apr 08,25Top Free Fire Characters 2025: Ultimate Guide Free Fire, crafted by Garena, has cemented its status as a top-tier battle royale game worldwide, amassing over 1 billion downloads on the Google Play Store and engaging millions of daily active players. Its appeal lies not only in its thrilling gameplay but also in its diverse array of characters,
 -
 Jan 18,25Roblox Grace: All Commands and How to Use Them Grace 游戏指令速查 所有 Grace 指令 如何使用 Grace 指令 Grace 是一款 Roblox 游戏,玩家需要在充满恐怖生物的各个关卡中生存。游戏极具挑战性,需要玩家快速反应并寻找对抗敌人的方法。幸运的是,开发人员添加了测试服务器功能,玩家可以使用聊天指令来简化游戏,召唤敌人,或进行游戏测试。以下列出了 Grace 游戏中的所有指令以及使用方法。 所有 Grace 指令 .revive:复活指令,用于在失败或卡住时重新进入游戏。 .panicspeed:修改计时器速度。 .dozer:召唤 Dozer 实体。 .main:进入主分支服务器。 .slugfish:召唤 S