


How to Connect the Asus ROG Ally to a TV or Gaming Monitor
The ROG Ally, a compelling Steam Deck alternative, gained popularity in 2023. Its Windows OS provides access to a broader game library. The 2023 ROG Ally X enhanced internal components and ergonomics, improving cooling and comfort.
While its portability is a key feature, connecting to a TV or monitor for a larger screen experience is also desirable. Both ROG Ally models offer this capability. Below are detailed instructions and recommendations.
Connecting with an Adapter
Several methods exist, but adapters offer a simple, space-saving solution. Options range from compact dongles to direct cables, including the official ROG Gaming Charger Dock.
Required Equipment
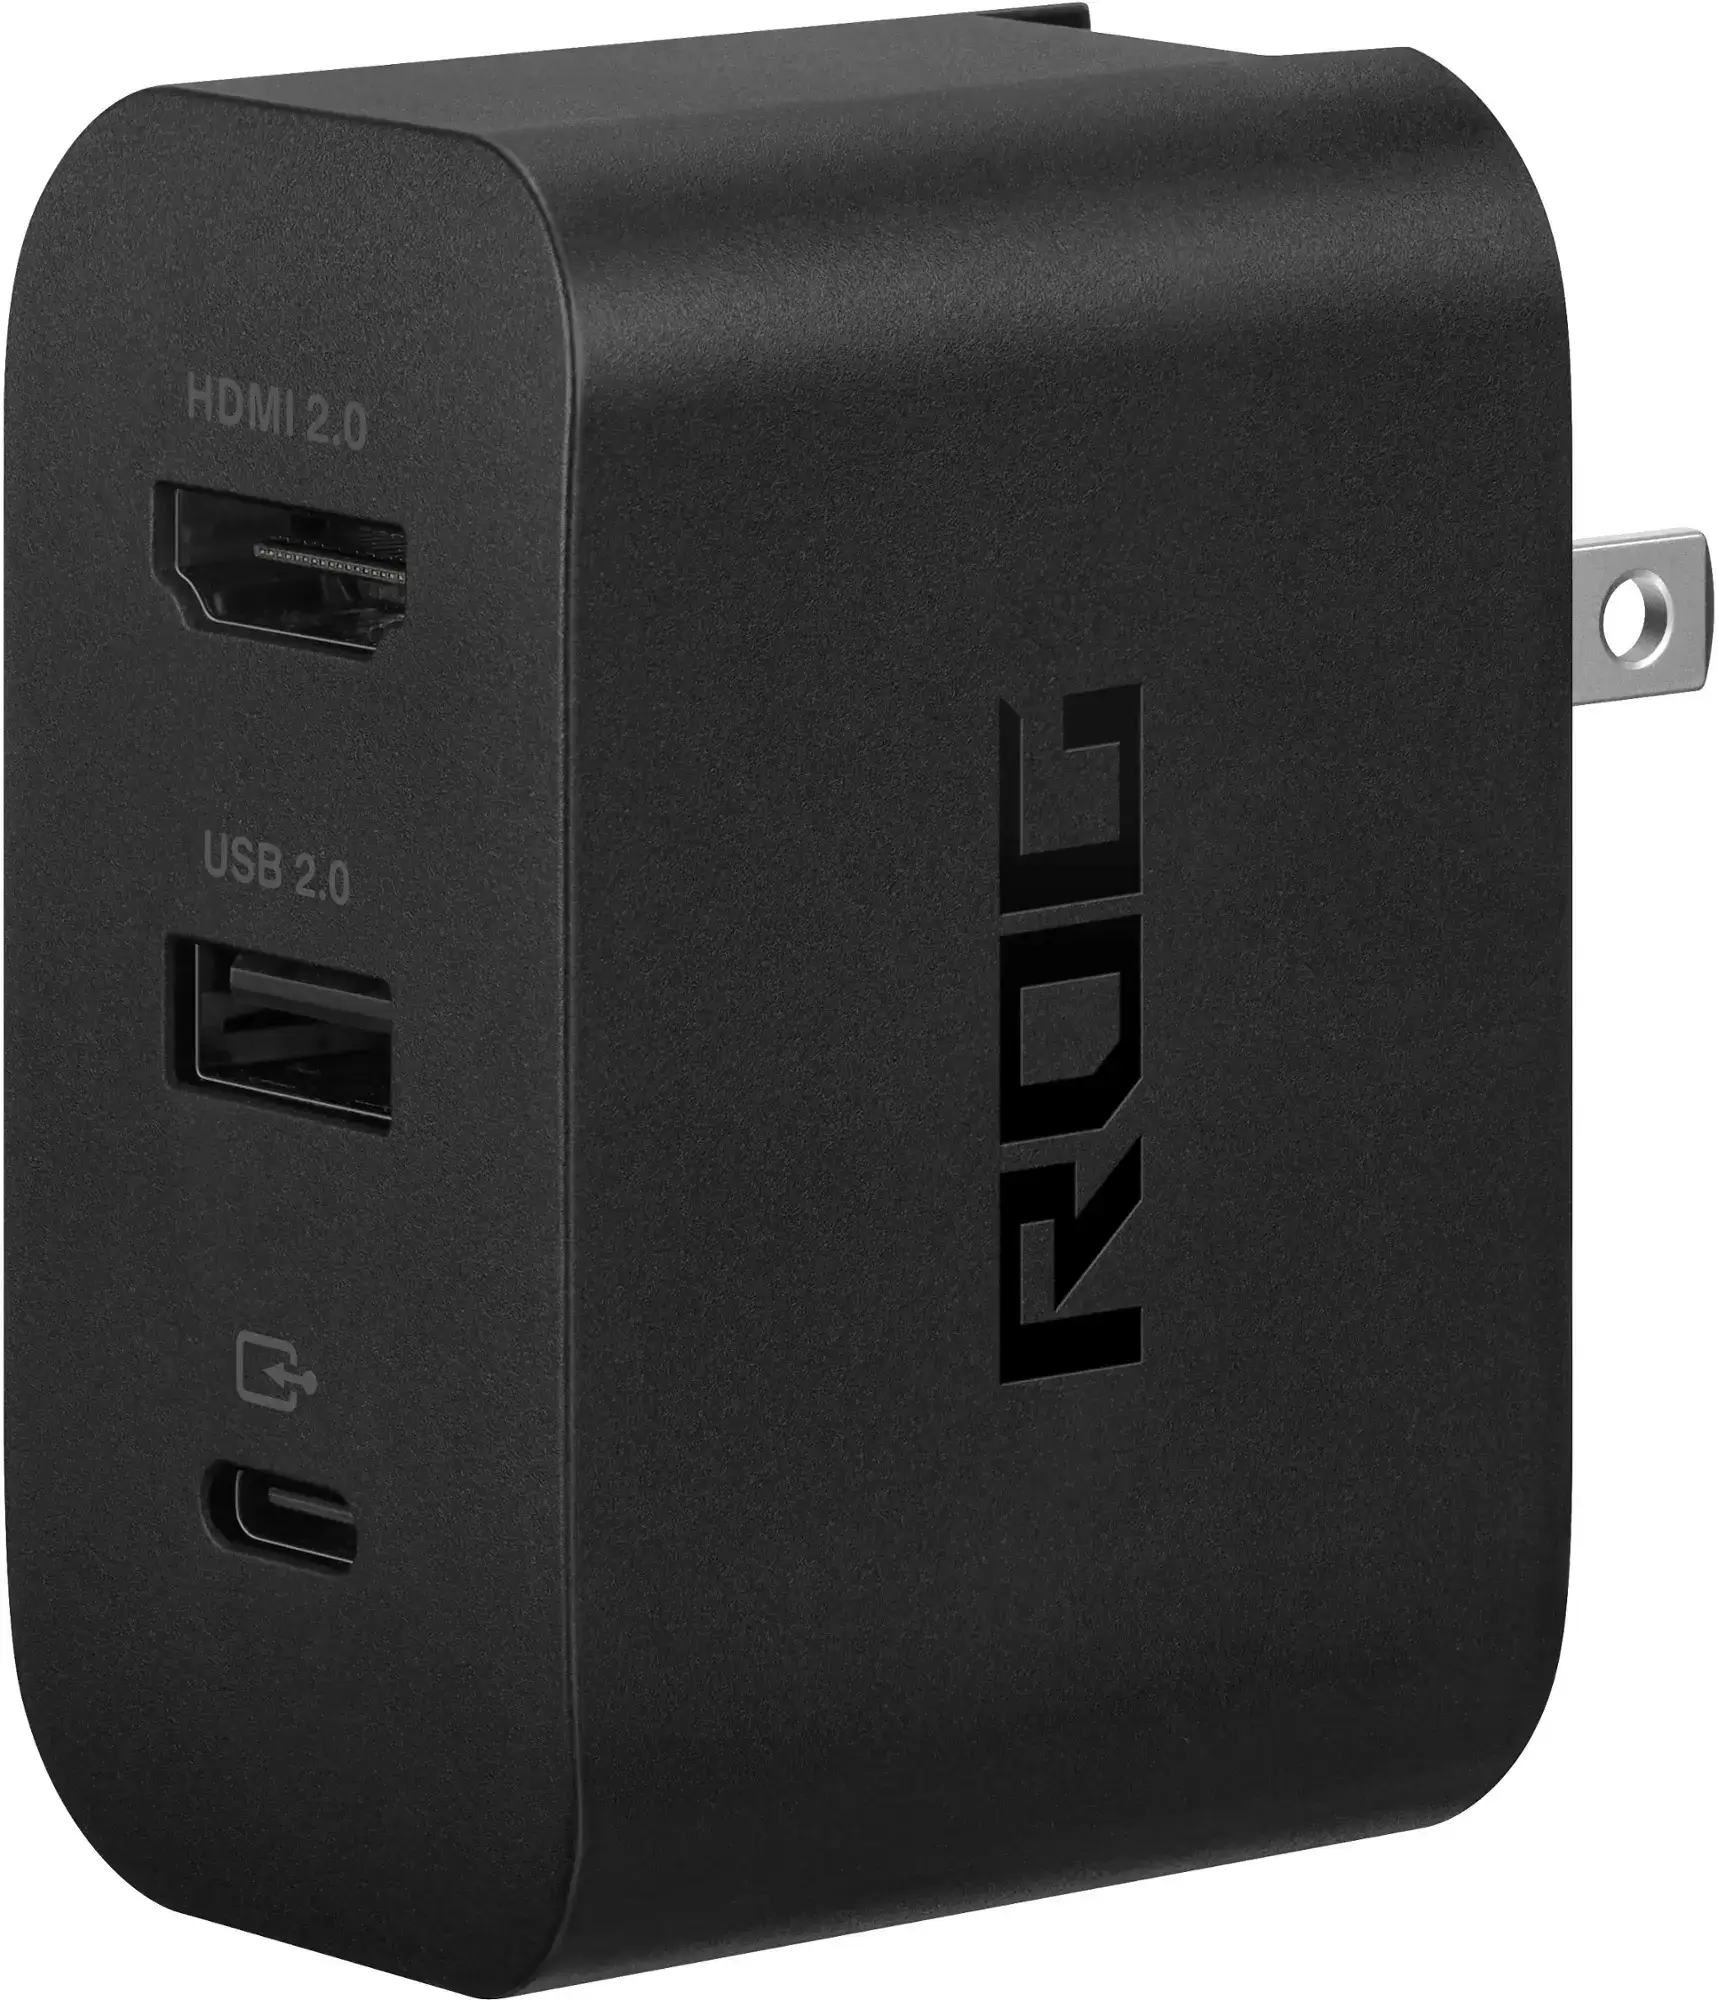 ### ASUS ROG 65W Charger Dock
0Supports HDMI 2.0, USB-A, and USB-C for seamless ROG Ally connectivity.See it at Best BuyASUS simplifies connecting the ROG Ally to a TV with its official ROG Gaming Charger Dock. This doubles as a charger, requiring only a USB-C and HDMI cable. It also includes a USB-A port for mouse/keyboard connectivity.
Alternatively, a third-party USB-C to HDMI adapter connects directly to the Ally's USB-C port. An HDMI cable then links the adapter to your TV/monitor. A USB-C to HDMI cable offers a single-cable solution.
Some USB-C to HDMI adapters include a passthrough USB-C port for charging. This requires an additional USB-C cable and power adapter.
Step-by-Step Instructions
- Connect a USB-C to HDMI adapter (or cable) to the Ally's top USB-C port. For the ROG Gaming Charger Dock, use a USB-C cable between the Ally and the dock's USB-C port.
- Connect an HDMI cable between the adapter (or dock) and your TV/monitor's HDMI port. For a direct USB-C to HDMI cable, connect directly to the monitor.
- (Optional) If your adapter has a passthrough USB-C port, connect your power adapter for charging.
- Power on the Ally; video output should be automatic.
- Select the correct HDMI input on your TV/monitor.
Connecting with a Docking Station
For a Nintendo Switch-like setup, consider a docking station. While no official dock exists (beyond the ROG Gaming Charger Dock), numerous third-party options are available. These provide a stand and charging capabilities.
Required Equipment
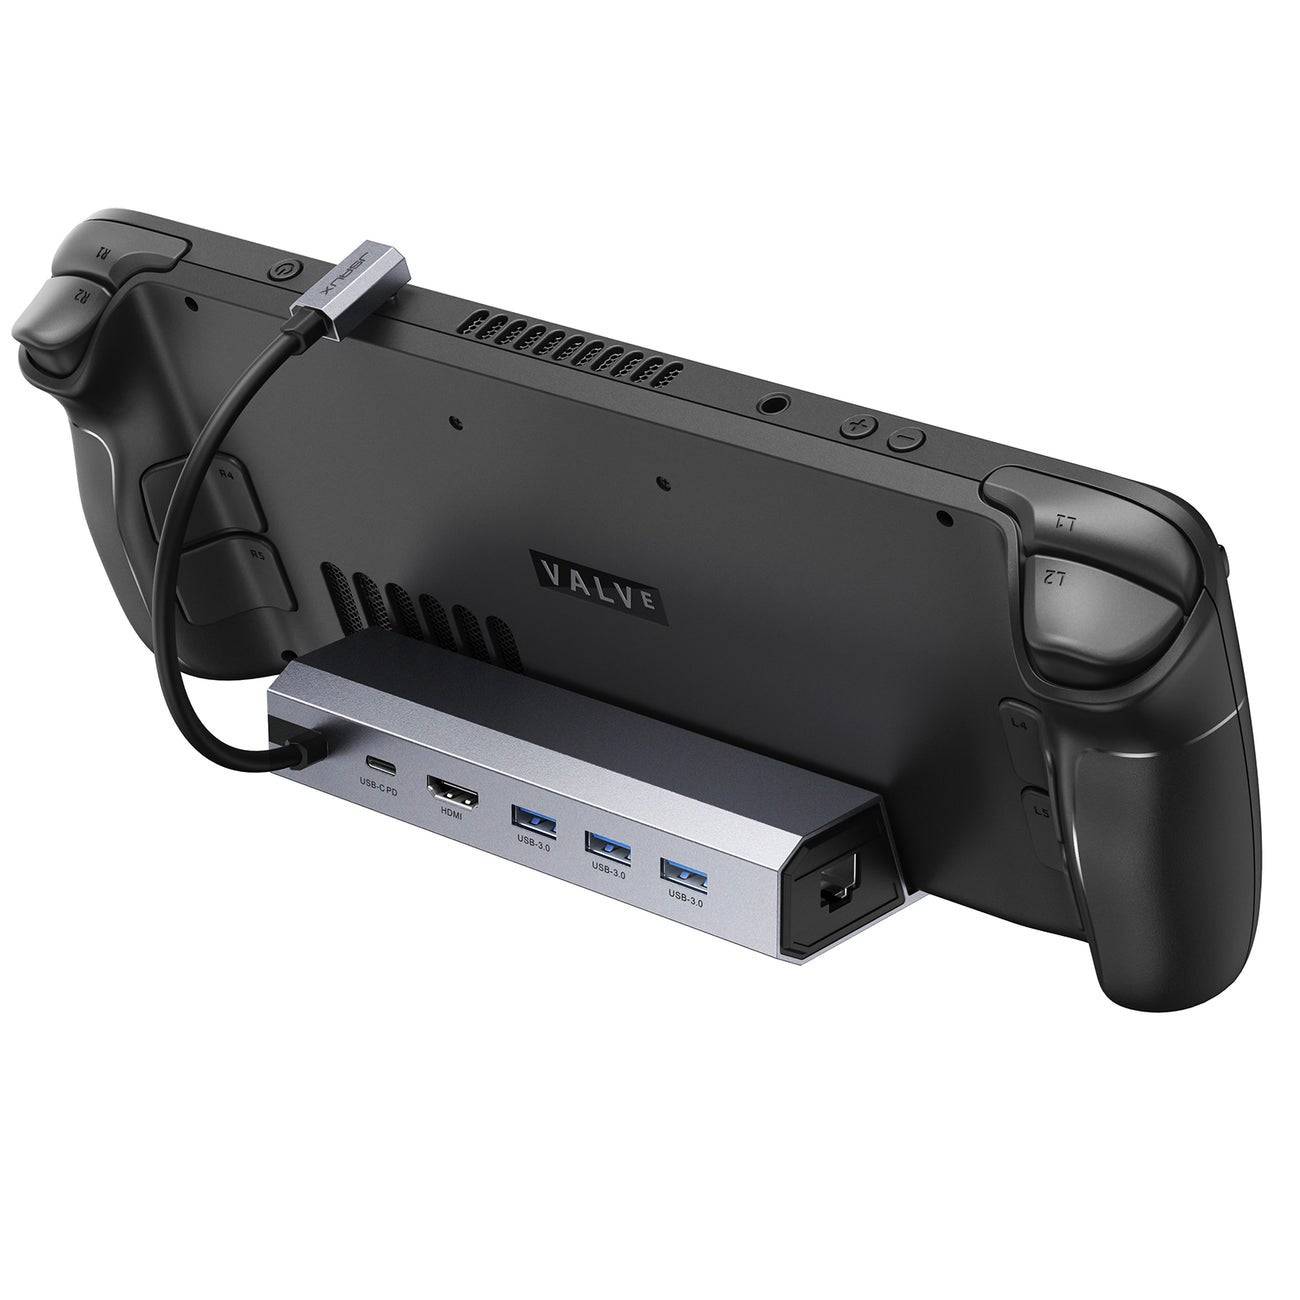 Our Top Pick### JSAUX Docking Station HB0603
2100 watts of power for fast charging and multiple ports in a lightweight, compact design.See it at AmazonBasic docks usually include HDMI and USB-C passthrough charging. More advanced docks offer extra USB ports, Ethernet, SD card slots, and even DisplayPort for dual displays. Smaller, portable docks are ideal for travel. Many Steam Deck docks are also compatible.
Step-by-Step Instructions
- Place the Ally in the dock.
- Connect the USB-C power cord to the Ally's USB-C port.
- Connect the power adapter to the dock's USB-C charging port.
- Connect an HDMI cable from the dock to your TV/monitor.
- Power on the Ally; video output should be automatic.
- Select the correct HDMI input on your TV/monitor.
Controller Recommendations
While mouse and keyboard are options, a wireless controller provides a more comfortable large-screen experience. The ROG Ally supports Bluetooth controllers. The following are suitable options (also compatible with the Steam Deck):
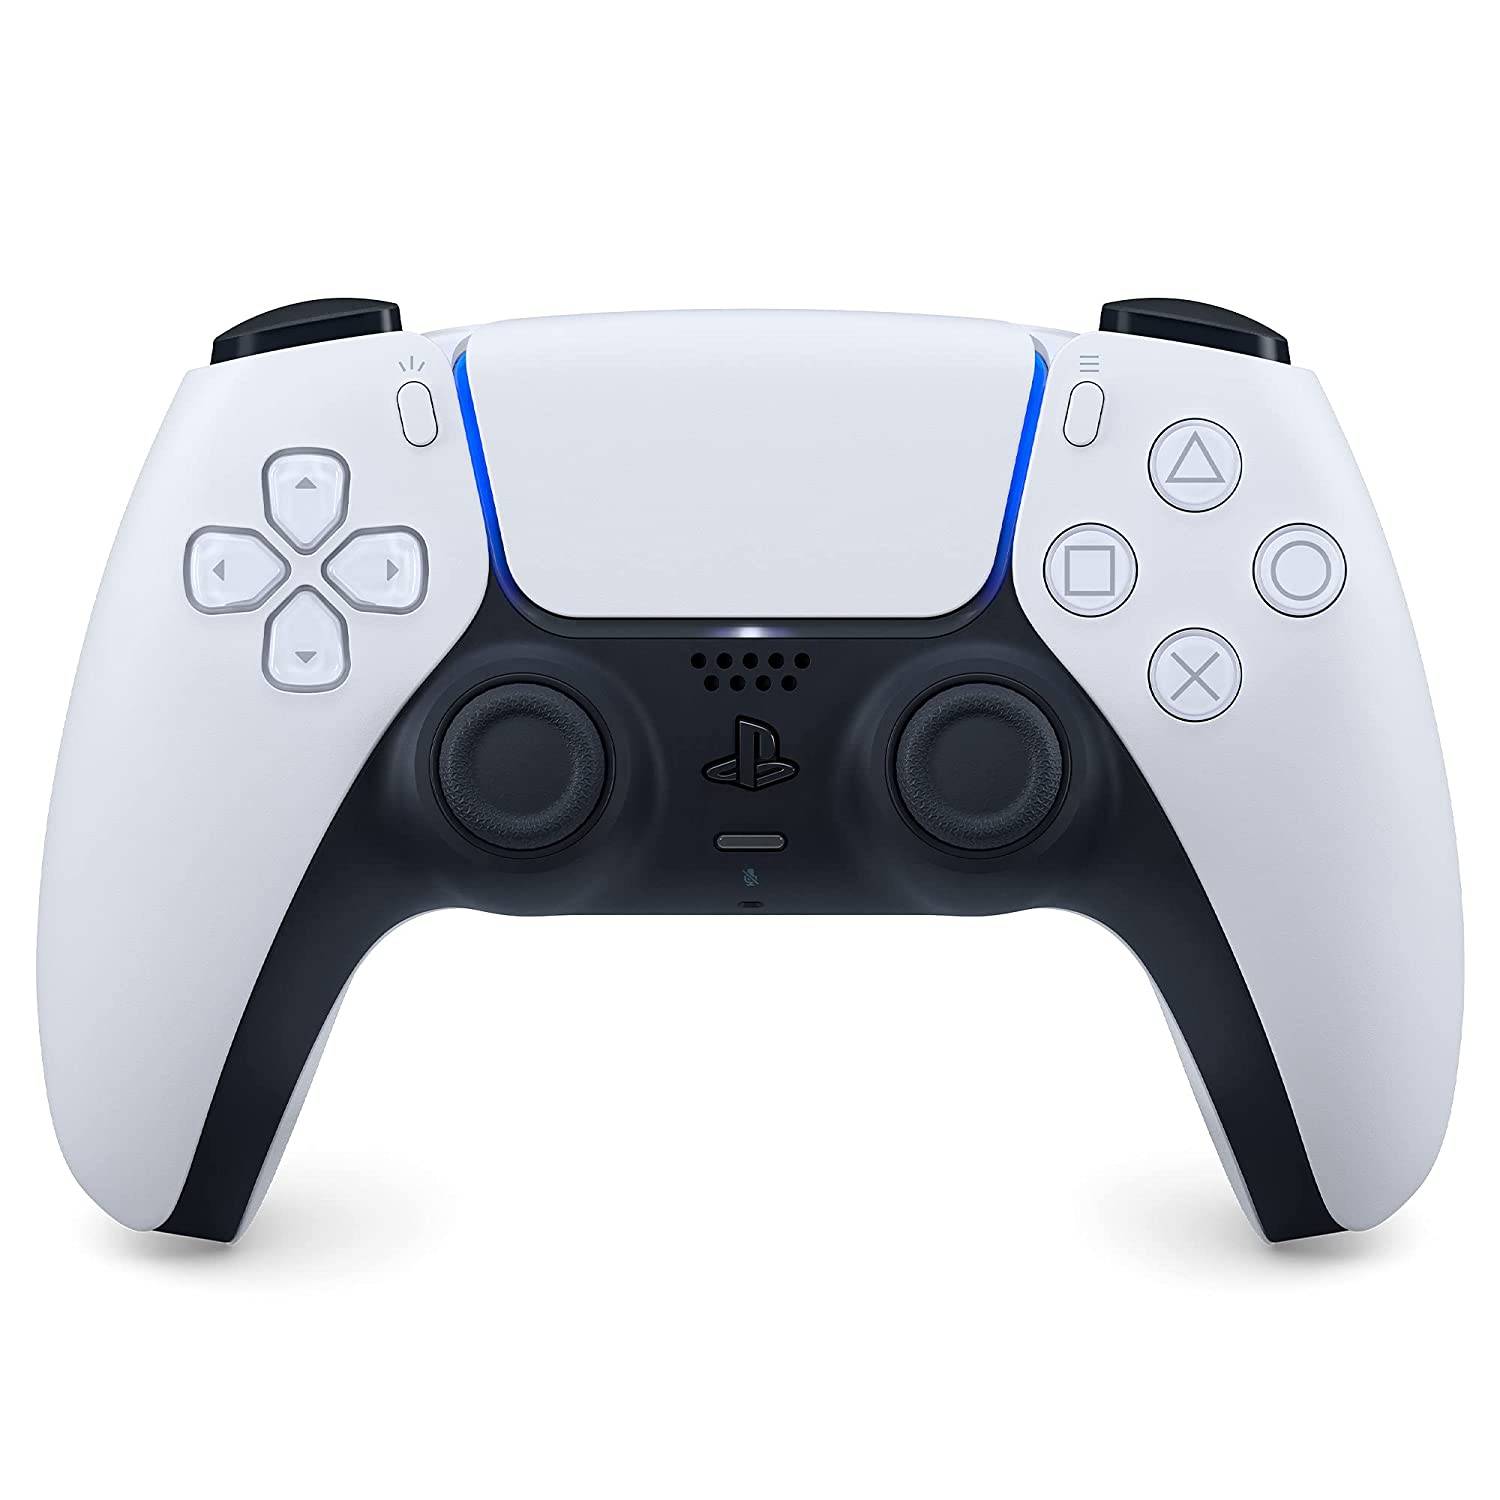 Our Top Pick### Sony DualSense
1See it at AmazonSee it at Best BuySee it at Target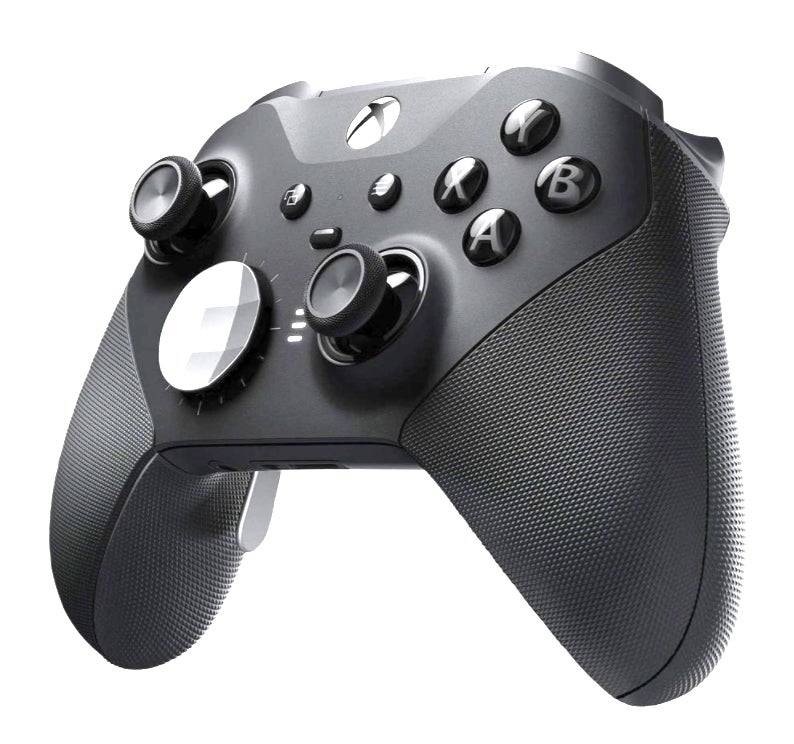 ### Xbox Elite Series 2 Controller
4See it at AmazonSee it at Best Buy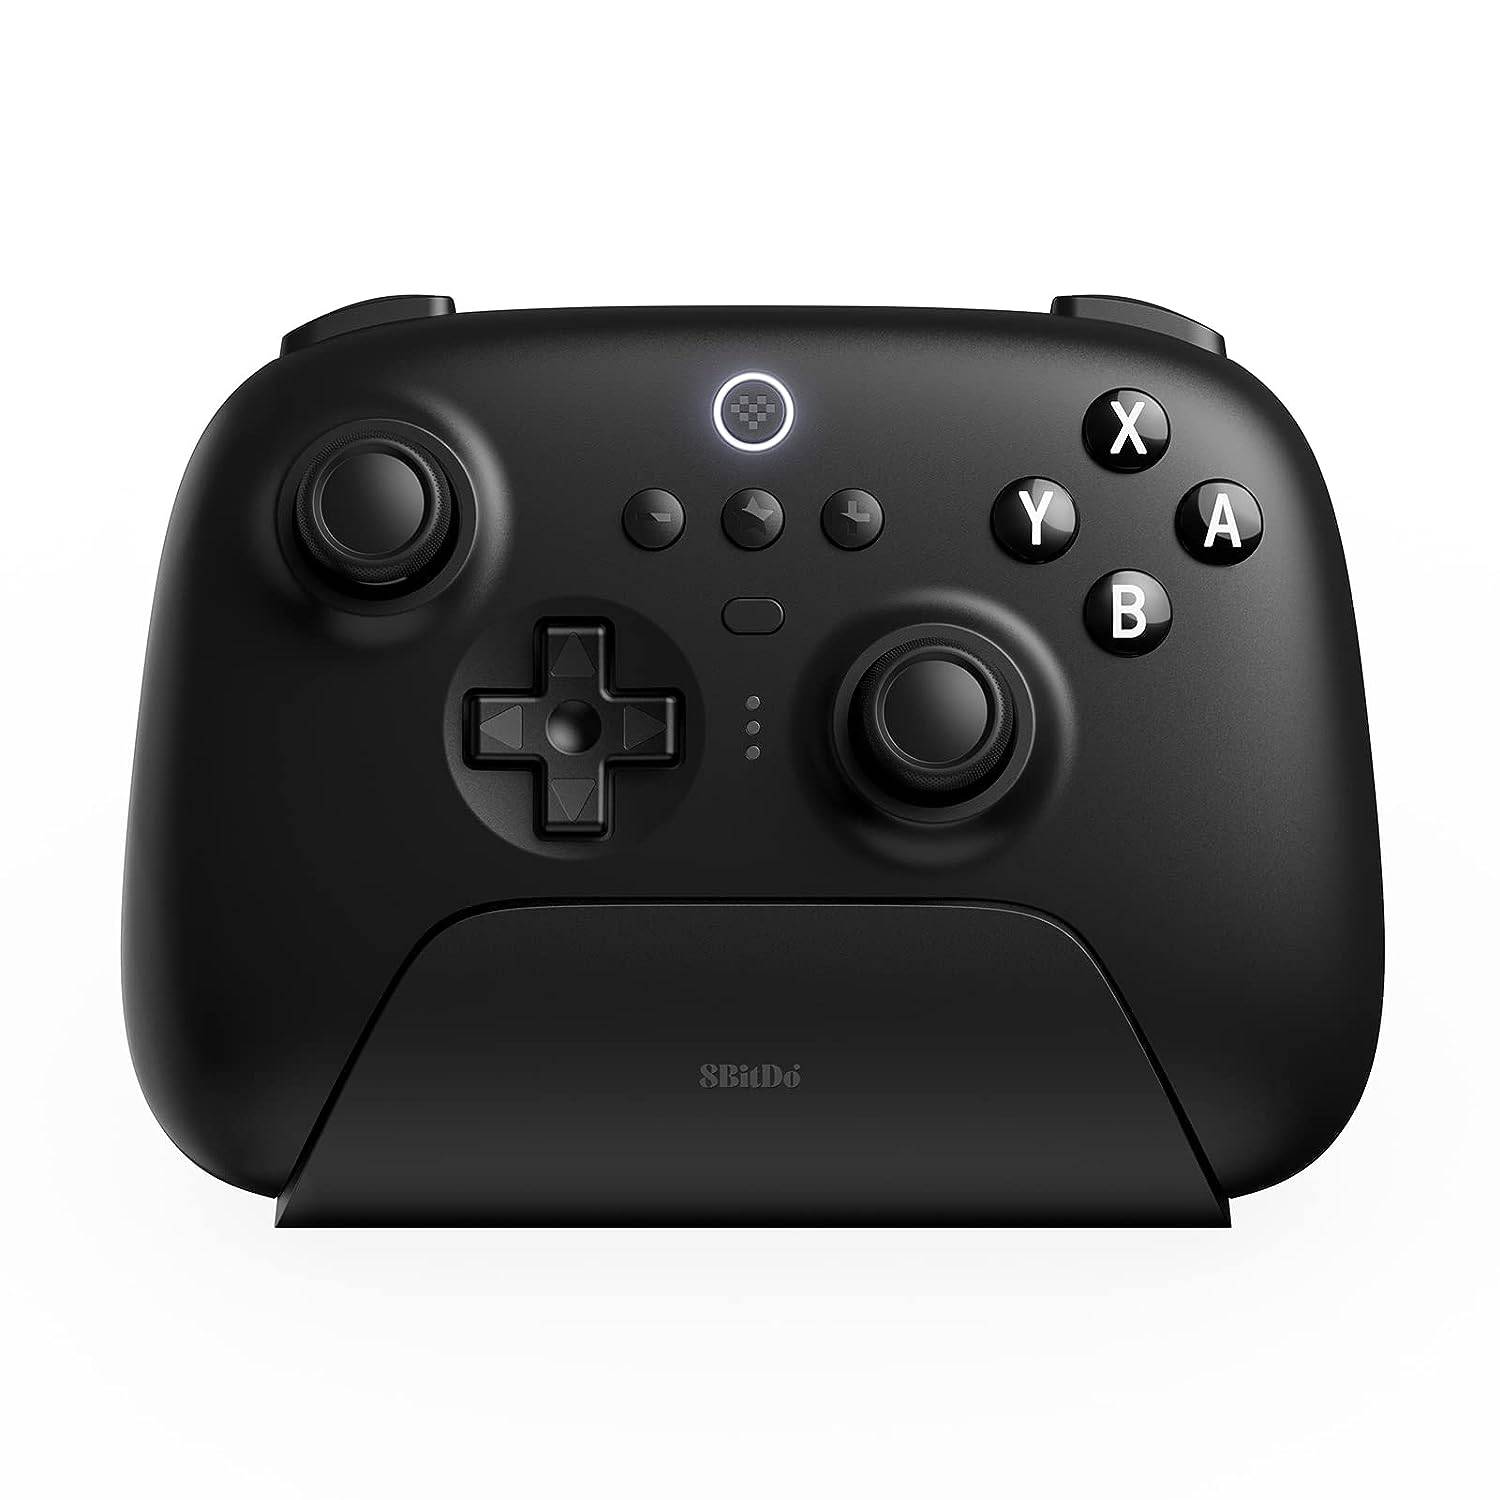 ### 8BitDo Ultimate Controller
0See it at Amazon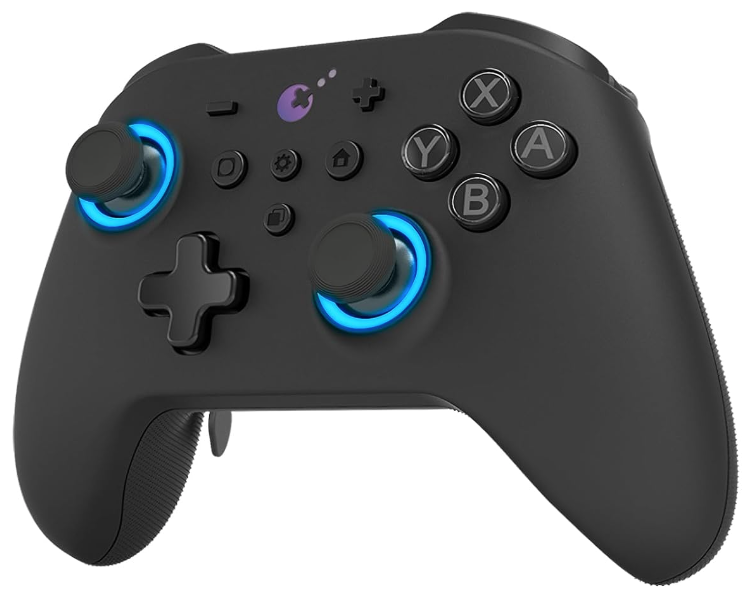 ### GuliKit KingKong 3 Max Controller
1See it at Amazon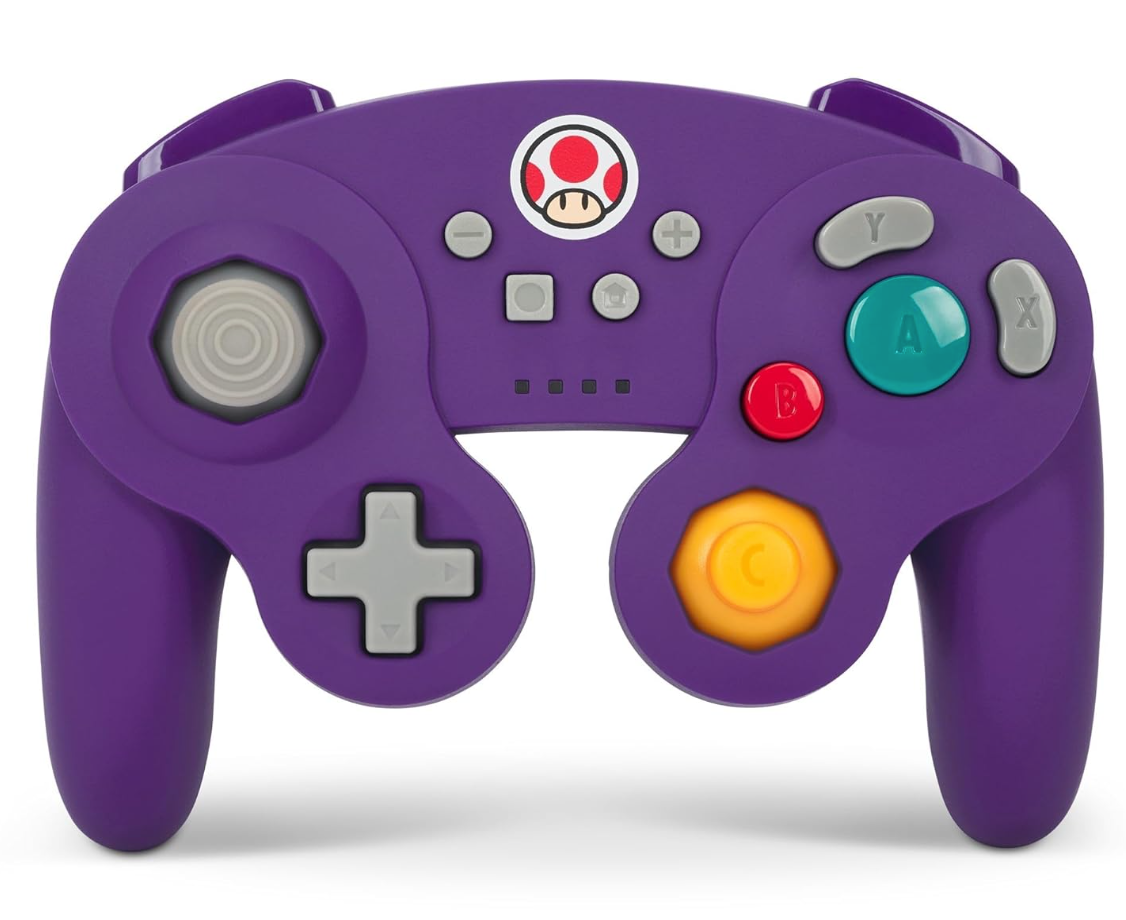 ### PowerA Wireless GameCube Style Controller
2See it at AmazonOptions include the DualSense, Xbox Wireless Controller, Nintendo Switch Pro Controller, and various third-party controllers. 2.4GHz controllers often offer lower latency and better range than Bluetooth. Wired USB controllers are also an option.
-
 Dec 25,24Zenless Zone Zero 1.5 Update Preview Zenless Zone Zero Version 1.5 Update: Leaked Banner Characters Revealed New leaks for Zenless Zone Zero unveil the character lineup for the upcoming Version 1.5 update, including highly anticipated character reruns. This HoYoverse action RPG continues to expand its roster of powerful characters, fr
 -
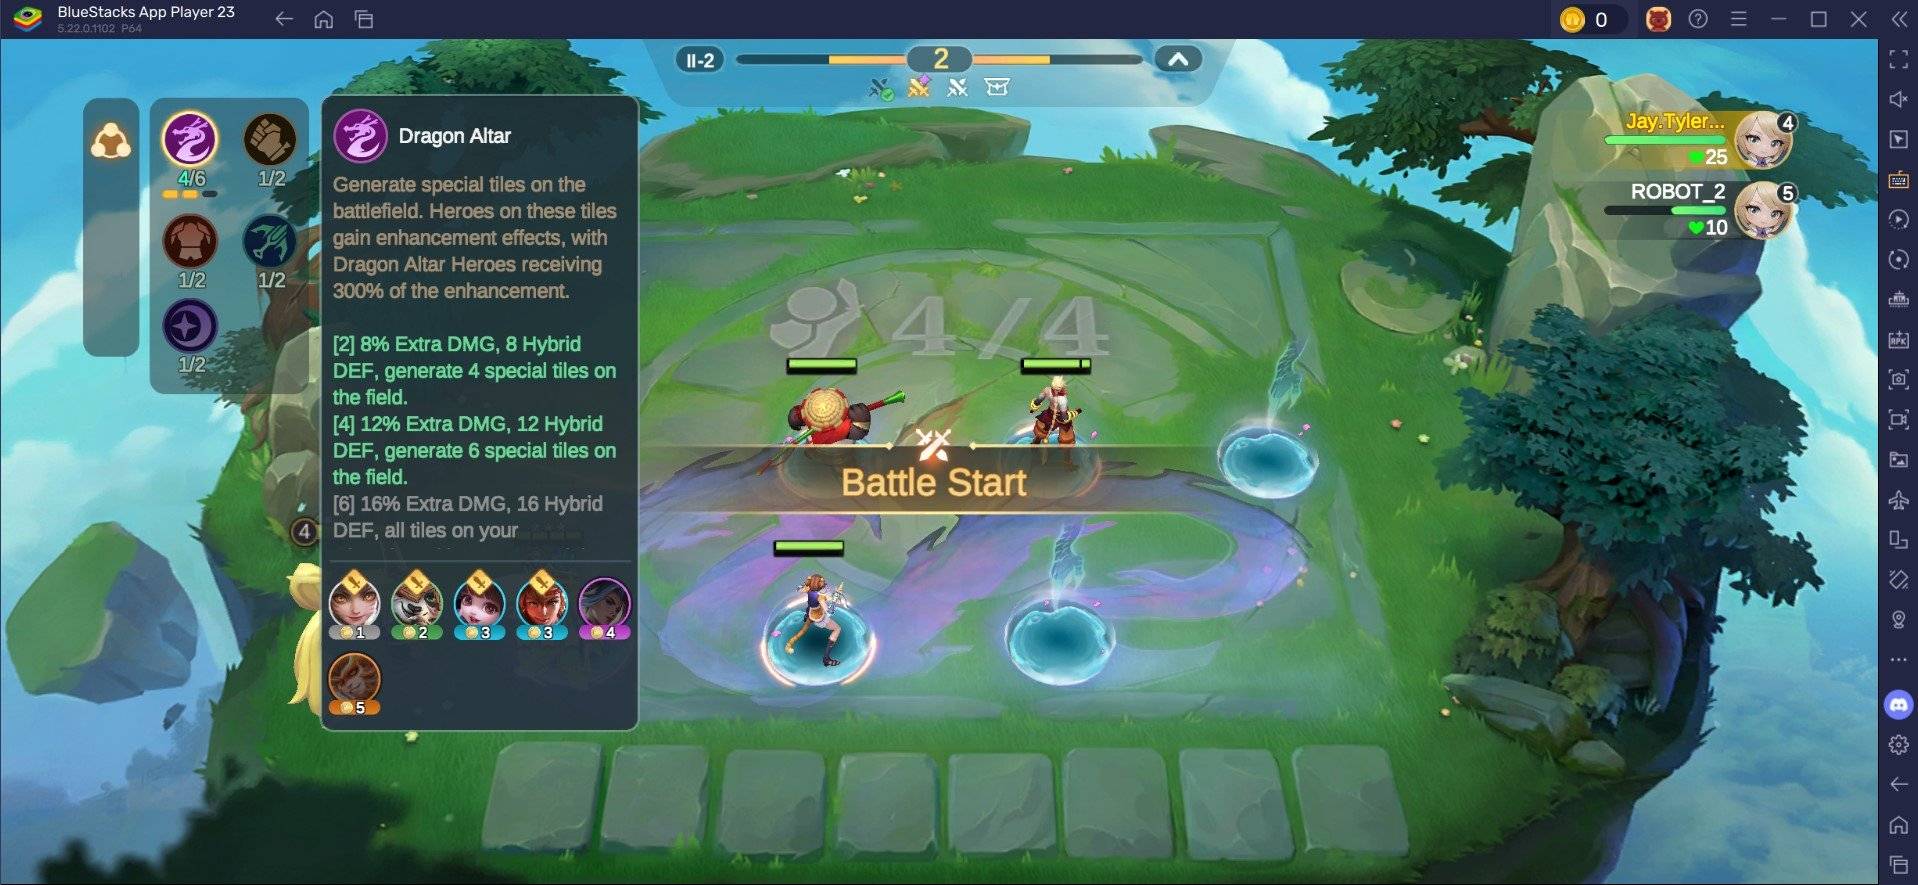 May 06,25Magic Chess: Beginner's Guide to Mastering Core Mechanics Magic Chess: Go Go, an exhilarating auto-battler strategy game crafted by Moonton, is deeply rooted in the vibrant universe of Mobile Legends. This game masterfully blends chess tactics with hero-based strategies, offering players the chance to craft formidable team line-ups featuring heroes from th
 -
 Apr 08,25Top Free Fire Characters 2025: Ultimate Guide Free Fire, crafted by Garena, has cemented its status as a top-tier battle royale game worldwide, amassing over 1 billion downloads on the Google Play Store and engaging millions of daily active players. Its appeal lies not only in its thrilling gameplay but also in its diverse array of characters,
 -
 Jan 18,25Roblox Grace: All Commands and How to Use Them Grace 游戏指令速查 所有 Grace 指令 如何使用 Grace 指令 Grace 是一款 Roblox 游戏,玩家需要在充满恐怖生物的各个关卡中生存。游戏极具挑战性,需要玩家快速反应并寻找对抗敌人的方法。幸运的是,开发人员添加了测试服务器功能,玩家可以使用聊天指令来简化游戏,召唤敌人,或进行游戏测试。以下列出了 Grace 游戏中的所有指令以及使用方法。 所有 Grace 指令 .revive:复活指令,用于在失败或卡住时重新进入游戏。 .panicspeed:修改计时器速度。 .dozer:召唤 Dozer 实体。 .main:进入主分支服务器。 .slugfish:召唤 S